That fresh, empty sketchbook holds infinite potential, but it can also feel intimidating. The pressure to create a masterpiece on the very first page often leads to creative paralysis, leaving you wondering where to even start. This guide is designed to shatter that "blank page anxiety" by providing structured, engaging, and practical sketchbook ideas for beginners. We are moving beyond generic prompts to dive into foundational exercises that build real, tangible skills, from keen observation to confident line control.
Each idea presented here is more than just a suggestion; it's a gateway to developing a consistent and joyful drawing habit. By focusing on the process rather than demanding perfection, you will transform your sketchbook from a source of pressure into a personal playground for artistic growth. Forget the fear of making mistakes. Your sketchbook is a private space to experiment, learn, and document your progress.
This curated list offers actionable starting points that will turn your empty pages into a vibrant record of your creative journey. You will learn how to see the world like an artist, break down complex subjects into simple forms, and capture the energy of a moment. Let’s explore these fundamental concepts and begin filling your sketchbook with purpose and confidence.
1. Daily Object Study
One of the most foundational and effective sketchbook ideas for beginners is the daily object study. This practice involves sketching a common, everyday object from direct observation. The goal is not to create a masterpiece but to train your eye to see and your hand to translate what you see onto the page. By focusing on simple items, you build a strong base in the core principles of drawing, such as accurately capturing shapes, understanding proportions, and rendering basic light and shadow.

This method, championed by renowned instructors like Betty Edwards, author of "Drawing on the Right Side of the Brain," strips drawing down to its essentials. Instead of feeling overwhelmed by complex scenes, you can concentrate on a single, manageable subject. The beauty of this approach is its accessibility; you don’t need a special setup or expensive models. Your subject can be anything from a coffee mug on your desk to the keys in your pocket.
How to Implement a Daily Object Study
Getting started is simple. Choose an object and place it in front of you under a single, clear light source, like a desk lamp. This creates distinct highlights and shadows, making it easier to see the object's form.
- Select Simple Subjects: Begin with items that have basic geometric shapes. Think of an apple (sphere), a book (rectangle), or a drinking glass (cylinder).
- Time Your Sketches: Set a timer for 15 to 30 minutes. This encourages you to focus on capturing the essence of the object rather than getting lost in tiny details.
- Focus on One Skill at a Time: On your first pass, concentrate only on the outline and basic shapes. In the next sketch, focus on adding the shadows. Breaking the process down makes it less intimidating.
Pro-Tip: Don't erase your mistakes. Instead, draw new lines over the old ones. This practice, known as "constructive drawing," helps you find the correct form and creates a record of your thought process.
By dedicating just a small amount of time each day to this exercise, you will see a rapid improvement in your observational skills and hand-eye coordination. If you're looking for more structured ways to build a drawing habit, explore some of the excellent daily drawing challenges available online.
2. Contour Line Drawing
Another powerful sketchbook idea for beginners is contour line drawing. This technique focuses on capturing the outline and essential edges of a subject, often done without looking at the paper (blind contour) or with only minimal glances (modified contour). The objective is not a realistic rendering but to sharpen your observational skills, forcing your eye to move slowly along the subject’s edges while your hand records the journey. This direct connection between sight and touch drastically improves hand-eye coordination.
This method was famously championed by Kimon Nicolaïdes in his book, "The Natural Way to Draw," and is a staple in art education programs. By removing the pressure to create a "good" drawing, you are free to truly see your subject. The resulting lines are often expressive and organic, revealing more about your perception of the form than a perfectly polished sketch might. It's an exercise in seeing, not just drawing.
How to Implement Contour Line Drawing
Start with a simple, interesting subject that has clear edges. The key is to let your eye guide your hand, moving at the same slow, deliberate pace.
- Choose Engaging Subjects: Your own hand is a perfect starting point. Other great options include plants with complex leaf edges, a crumpled piece of paper, or a blind contour portrait of a friend.
- Try Blind Contour First: For your first attempt, try a pure blind contour drawing. Set a timer for 5 to 10 minutes, fix your gaze on the subject, and do not look down at your paper until the timer goes off.
- Use a Pen: Drawing with a pen or a fine-tip marker prevents the temptation to erase. This encourages you to commit to your lines and embrace the imperfections, which are part of the process.
Pro-Tip: Imagine your pencil point is an ant, slowly crawling along the edges of your subject. Your eye should follow the ant's path precisely. When your eye moves, your hand moves; when your eye stops, your hand stops.
This practice is less about the final product and more about the process of intense observation. By regularly incorporating contour drawing into your sketchbook, you build a deeper connection between what you see and what you can draw, a foundational skill for any artist.
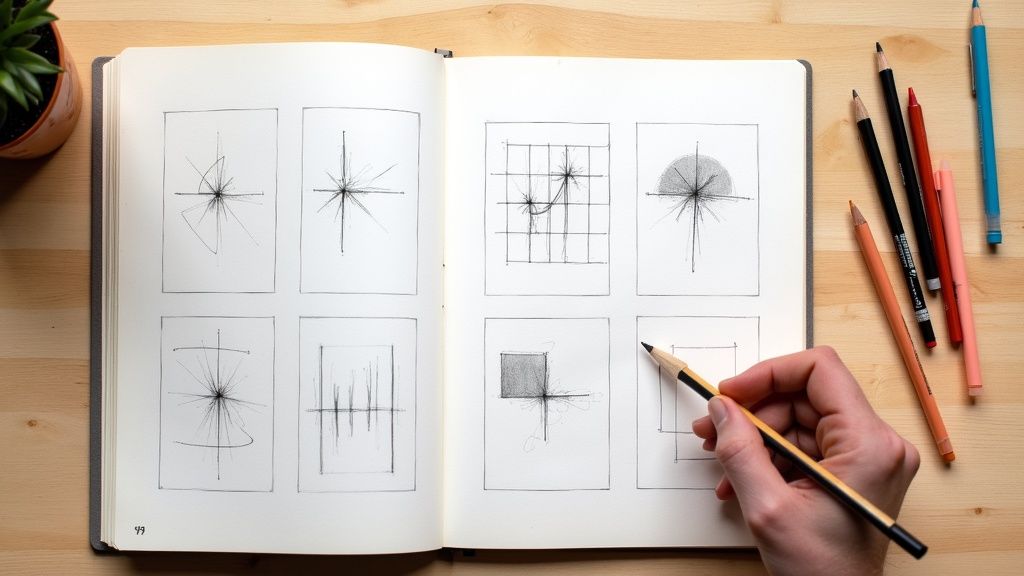
3. Gesture Drawing
A fantastic sketchbook idea for beginners looking to breathe life and energy into their work is gesture drawing. This practice involves making quick, expressive sketches to capture the movement, action, and essence of a subject, usually a person or animal, in a very short time. The aim isn't a detailed, polished drawing but rather a fluid representation of the subject's form and dynamism, training you to see and record the most important information quickly.

This method is a cornerstone of classical art education and animation training, championed by legendary instructors like Kimon Nicolaïdes and Glenn Vilppu. It teaches you to move beyond stiff, static outlines and instead focus on the "line of action," the primary curve or thrust of a pose. By practicing gesture, you build confidence in your mark-making and develop an intuitive understanding of human and animal anatomy in motion.
How to Implement Gesture Drawing
The key to gesture drawing is speed and confidence. You can practice with live models, but people in a park, athletes on TV, or even your own reflection in a mirror make excellent subjects.
- Set Short Time Limits: Start with 2-minute poses to get comfortable. As you improve, challenge yourself with 1-minute and even 30-second sketches. This forces you to prioritize essential lines.
- Find the Line of Action: Before drawing anything else, identify the main line of energy flowing through the pose, often a C or S curve from the head to the feet, and draw it first.
- Use Your Whole Arm: Draw from your shoulder, not just your wrist. This encourages longer, more fluid, and expressive lines that are essential for capturing movement.
Pro-Tip: Don't get caught up in details or accuracy. The goal is to capture the feeling of the pose, not a perfect likeness. Embrace messy, energetic lines and avoid erasing.
Regularly practicing gesture drawing will dramatically improve your ability to create dynamic figures from imagination. If you need inspiration, you can explore thousands of different pose ideas for drawing to use for your timed sessions.
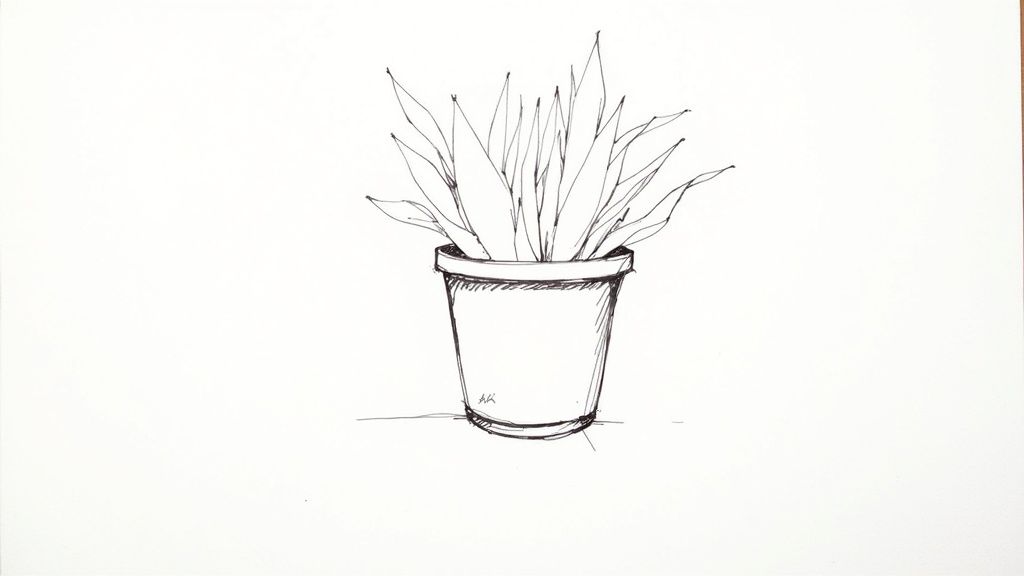
4. Nature and Botanical Studies
One of the most rewarding sketchbook ideas for beginners is engaging in nature and botanical studies. This practice involves the detailed observation and drawing of plants, flowers, trees, and other natural elements. It beautifully merges scientific observation with artistic expression, helping you develop patience, a keen eye for detail, and a deep understanding of organic forms and textures.

This approach has a rich history, popularized by pioneering naturalists and artists like Maria Sibylla Merian and Beatrix Potter. Their work demonstrates how careful study can transform simple subjects like a mushroom or a flower into a captivating piece of art. For a beginner, focusing on a single leaf or petal provides a manageable yet intricate subject, allowing you to practice rendering delicate lines, subtle gradients, and complex patterns without feeling overwhelmed by a larger scene.
How to Implement Nature and Botanical Studies
The key to botanical drawing is patient observation. Find a comfortable spot, either outdoors or with a collected specimen indoors, and give yourself time to truly see your subject before you start drawing.
- Start with Simple Forms: Begin your studies with a single leaf, focusing on its overall shape and the pattern of its veins. Progress to more complex subjects like a multi-petaled flower or a pinecone as you build confidence.
- Use a Magnifying Glass: For tiny details like the texture of bark or the pollen on a stamen, a magnifying glass is an invaluable tool. It reveals a hidden world of intricate patterns perfect for sketching.
- Work from Light to Dark: When adding shading and value, build up your tones gradually. Start by lightly sketching in the main shapes and highlights, then slowly add darker shadows and mid-tones to create depth and form.
Pro-Tip: If you bring a flower or cutting indoors to draw, keep its stem in a small glass of water. This will prevent it from wilting, giving you more time to capture its form accurately.
By dedicating sketchbook pages to the natural world, you not only improve your drawing skills but also cultivate a greater appreciation for the beauty around you. For inspiration on technique and composition, look into the work of contemporary botanical artists like Billy Showell, who offers numerous resources and tutorials on her website.
5. Texture and Pattern Exploration
A fantastic sketchbook idea for beginners looking to add depth and realism to their work is texture and pattern exploration. This practice involves creating focused studies to capture the surface quality of different materials. Instead of drawing a whole object, you zoom in on its texture, learning to replicate the feel of wood grain, the roughness of stone, or the weave of fabric through various mark-making techniques. This exercise builds a rich visual vocabulary of marks that you can later apply to any subject, making your drawings more believable and engaging.
This method is a cornerstone of classical drawing education and is championed by contemporary instructors like Alphonso Dunn for pen and ink and Peter Han for dynamic sketching. By isolating texture, you train your hand to create a wide range of effects, from smooth and soft to coarse and jagged. It moves beyond just outlining shapes and teaches you to communicate the physical properties of an object, a skill that elevates a simple sketch into a compelling piece of art. The best part is that textures are all around you, from the denim of your jeans to the bark on a tree.
How to Implement Texture and Pattern Exploration
To begin, find an object with a distinct and interesting surface. You can work from life or a high-quality reference photo. The goal is to fill a small square or section of your page with the pattern or texture you observe, treating it like a scientific study.
- Gather Diverse Subjects: Collect a range of items with varied surfaces. Start with high-contrast textures like crumpled paper, tree bark, or a wool sweater. Then move to more subtle ones like smooth stone or glass.
- Vary Your Tools: Experiment with different tools to achieve different effects. Use a sharp 2H pencil for fine details like silk and a soft 6B pencil for dark, rough textures like asphalt.
- Focus on Light: Pay close attention to how light interacts with the surface. A strong, directional light source will create deep shadows and bright highlights, making the texture easier to see and draw.
Pro-Tip: Create a "texture library" in your sketchbook. Dedicate a few pages to rows of squares, each filled with a different texture study. Label each one (e.g., "pine wood," "burlap," "sand"). This becomes an invaluable reference sheet you can consult for future drawings.
This focused practice is one of the most effective ways to make your artwork more tactile and visually interesting. If you want to dive deeper into mark-making techniques, the tutorials from artists like Alphonso Dunn on YouTube offer excellent, in-depth guidance on creating textures with pen and ink.
6. Simple Shape Construction
A powerful sketchbook idea for beginners is to master simple shape construction. This fundamental approach involves breaking down complex subjects into basic geometric forms like spheres, cubes, cylinders, and cones before adding any detail. By simplifying a subject to its core shapes, you can focus entirely on establishing correct proportions, structure, and perspective, which are the building blocks of a believable drawing.
This method, popularized by online educators like Proko and courses such as Drawabox, is a cornerstone of classical and animation training. It removes the intimidation of drawing complex subjects like the human figure or a detailed vehicle. Instead of seeing a thousand confusing details, you train your brain to see the underlying geometric scaffold, making any subject more approachable and manageable.
How to Implement Simple Shape Construction
The key is to start with light, erasable lines to build your foundational structure. Think of yourself as a sculptor, blocking out the big forms before you even consider carving the fine details.
- Analyze Your Subject: Before you draw, look at your reference (a photo or a real object) and mentally break it down. See the pear as a sphere and a cone, the human torso as a modified box, or a car as a collection of rectangles.
- Draw Through the Form: Don't just draw the outlines. Draw the entire shape as if it were transparent. For example, when drawing a cylinder, sketch the entire oval at the top and bottom, even the parts you can't see. This helps you understand its volume and place it correctly in space.
- Refine in Layers: Once your basic shapes are proportionally correct, you can begin connecting them with contour lines and refining the silhouette. Only after the core structure is solid should you move on to adding smaller details.
Pro-Tip: Keep your initial construction lines light and loose. Use a hard-leaded pencil (like a 2H) for the initial block-in, then switch to a softer, darker pencil (like a 2B) for the final lines and details. This creates a clear visual hierarchy in your drawing.
Practicing shape construction builds a robust visual library that allows you to draw from imagination more effectively. For a deep dive into this technique, the free lessons on the Drawabox website provide a highly structured and comprehensive curriculum that has helped countless beginners build a solid foundation.
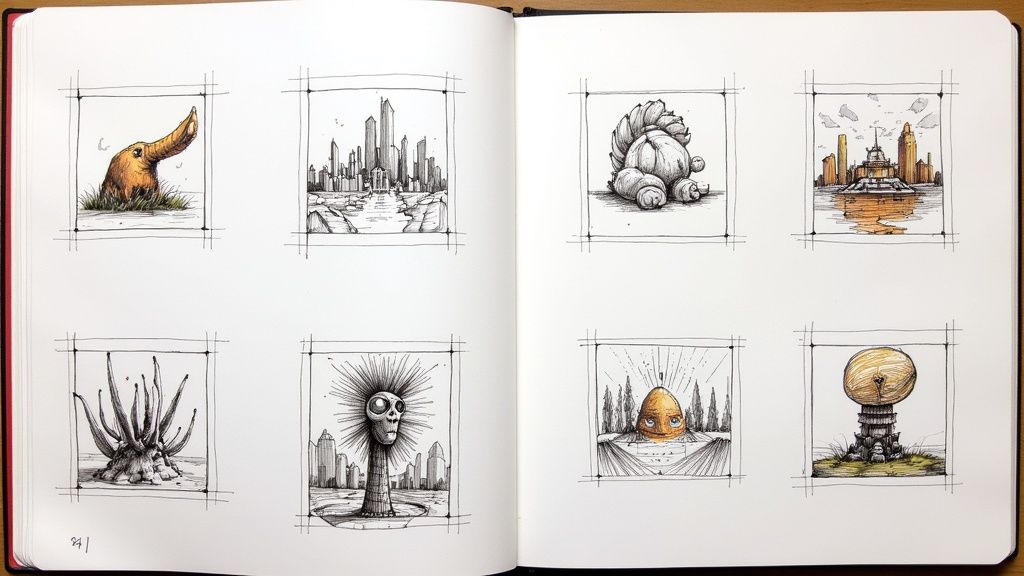
7. Daily Doodle Pages
Another excellent sketchbook idea for beginners is creating daily doodle pages. This practice is all about unstructured, playful drawing sessions that prioritize experimentation and creativity over a polished final product. By filling a page with various small drawings, patterns, and random thoughts, you build a consistent drawing habit without the pressure of producing a masterpiece every time. This approach is perfect for maintaining momentum and discovering your unique artistic style.
This method draws inspiration from practices like the Zentangle method and the vibrant sketchbook culture seen in art communities and urban sketching. It’s a low-stakes way to explore your imagination and simply enjoy the act of drawing. A doodle page can be a visual diary, a collection of tiny character sketches, abstract patterns, or memory drawings of things you saw during your day. The goal is to fill the page and keep your hand moving.
How to Implement Daily Doodle Pages
The beauty of doodling lies in its freedom, but a little structure can help you get started. Designate a specific section of your sketchbook for these freeform explorations.
- Set Aside Time: Dedicate 10 to 20 minutes each day for a quick doodle session. Consistency is more important than the duration.
- Embrace Randomness: Don't overthink it. Draw the first thing that comes to mind, whether it's a simple shape, a random object on your desk, or a funny face.
- Fill the Page: Challenge yourself to fill the entire page over time. Connect different doodles with lines, patterns, or shading to create a cohesive, visually interesting composition.
- Use Prompts When Stuck: If you feel uninspired, use a one-word prompt like "float," "grow," or "sharp" to kickstart your creativity.
Pro-Tip: Experiment with different drawing tools on your doodle pages. Use a mix of fine-liners, ballpoint pens, colored pencils, and markers to see how they feel and what effects you can create. This is your personal playground for testing materials.
This practice is incredibly effective for overcoming artist's block and making drawing a joyful, regular part of your life. For a wealth of inspiration, you can find more doodle drawing ideas to fill your sketchbook.
7 Beginner Sketchbook Ideas Comparison
Drawing Practice | Implementation Complexity | Resource Requirements | Expected Outcomes | Ideal Use Cases | Key Advantages |
|---|---|---|---|---|---|
Daily Object Study | Low - sketching familiar objects | Basic drawing tools | Foundational skills in shape, proportion, shading | Beginners learning core drawing techniques | No special materials, builds observation and patience |
Contour Line Drawing | Low to moderate - continuous line work | Minimal (pen/pencil) | Improved observational skills, expressive outlines | Practice hand-eye coordination and observation | Quick, engaging, reduces fear of mistakes |
Gesture Drawing | Moderate - timed, expressive sketches | Live subjects or photos | Captures movement, energy, and essential forms | Figure/animal sketching and warm-ups | Builds confidence, fluid lines, fast and effective |
Nature and Botanical Studies | Moderate to high - detailed and patient | Natural specimens or photos | Detailed understanding of natural forms and textures | Detailed botanical or nature art | Connects art with nature, develops patience and detail |
Texture and Pattern Exploration | Moderate - focused mark-making | Basic drawing tools | Technical skills and mark vocabulary | Surface texture studies and technical practice | Rapid skill improvement, useful references |
Simple Shape Construction | Low to moderate - structured method | Basic drawing tools | Understanding of structure, proportion, spatial logic | Complex subject breakdown for beginners | Makes complexity approachable, builds structural thinking |
Daily Doodle Pages | Low - unstructured, playful | Any drawing tools | Creative exploration, personal style development | Regular practice, creativity boosting | Low pressure, reduces anxiety, encourages experimentation |
From First Mark to Finished Page: Keep Your Momentum Going
You've just explored a full arsenal of powerful sketchbook ideas for beginners, moving beyond the intimidating blank page into a world of creative possibility. From the focused precision of Daily Object Studies and Contour Line Drawings to the dynamic energy of Gesture Drawing, you now have concrete exercises to build a solid artistic foundation. These prompts are more than just things to draw; they are tools for seeing the world differently and translating your unique vision onto paper.
We've covered how to deconstruct complex subjects with Simple Shape Construction and how to add depth and realism through Texture and Pattern Exploration. We also explored the calming, meditative practice of Nature and Botanical Studies and the pure, uninhibited joy of creating Daily Doodle Pages. Each of these seven approaches targets a different aspect of your artistic development, ensuring a well-rounded practice.
Your Path Forward: Building a Consistent Habit
The most crucial takeaway is this: your sketchbook is a private playground, not a public gallery. It's a space for experimentation, failure, and discovery. The goal is not to create a masterpiece on every page but to build the consistent habit of creating.
To keep your momentum going, consider these actionable next steps:
- Mix and Match: Don't feel obligated to stick to one exercise. Start a session with five minutes of quick gesture drawings to warm up, then move into a more detailed object study.
- Theme Your Weeks: Dedicate an entire week to one concept. Spend seven days focusing only on botanical drawings or exploring different cross-hatching textures. This focused practice accelerates learning in a specific area.
- Set a Micro-Goal: Commit to just ten minutes of drawing each day. This small, achievable goal removes pressure and makes it easier to show up consistently. Ten minutes daily is far more impactful than a two-hour session once a month.
Embracing these sketchbook ideas for beginners is about nurturing your curiosity and building confidence with every mark you make. Your sketchbook documents your journey, capturing your progress and evolving style. It’s a testament to your dedication and a visual diary of your growth as an artist. Every "mistake" is a lesson learned, and every finished page is a victory. Keep turning those pages, keep your pencil moving, and trust the process.
Feeling inspired but still need a spark for your next drawing session? The Drawing List ideas generator provides an endless supply of unique, filterable prompts tailored to your interests. Visit Drawing List to find your next great idea in seconds and keep your creative momentum flowing.