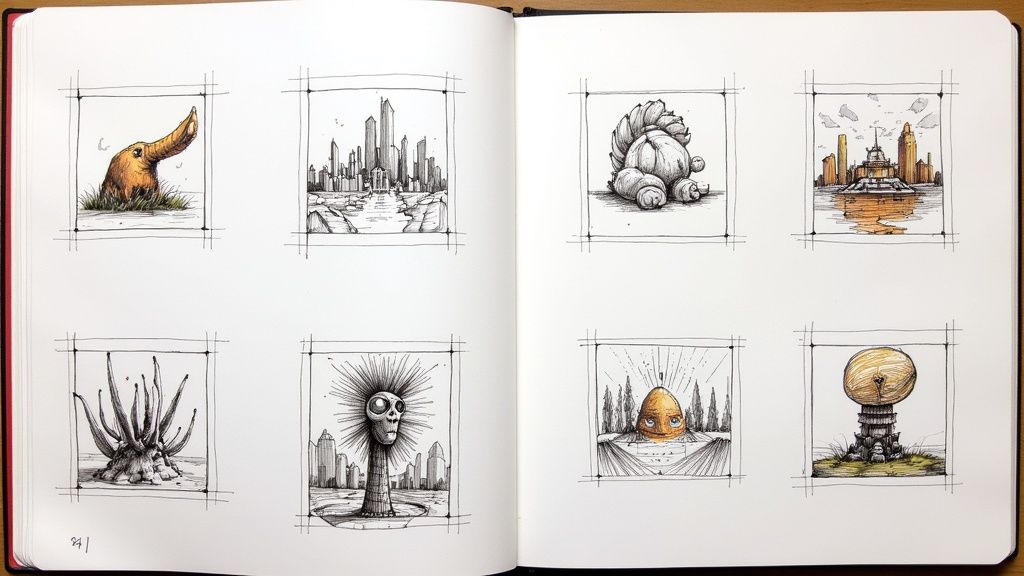
Just as an athlete stretches before a game, an artist needs to prepare their hands, eyes, and mind before creating. Jumping into a complex piece without preparation can lead to stiff lines, creative blocks, and frustration. Effective drawing warm up exercises are the crucial first step that bridges the gap between inactivity and creative flow. They are not just about mindless doodling; they are targeted routines designed to activate specific skills, from hand-eye coordination to observational acuity and muscle memory.
This guide provides a comprehensive collection of foundational warm-ups that professional artists and art educators swear by. You will learn practical techniques to get your creative session started on the right foot, ensuring your marks are confident and your mind is focused. We will explore seven distinct exercises, each with step-by-step instructions and actionable tips to help you get the most out of every practice session.
By integrating these specific drawing warm up exercises into your daily routine, you will notice a significant improvement in your work's quality and your overall creative process. This list is designed to be your go-to resource for building a consistent, effective pre-drawing ritual that enhances your skills and makes art creation more intuitive and productive.
1. Continuous Line Drawing
Continuous line drawing is a foundational exercise where you create an entire image without ever lifting your drawing tool from the paper. This technique forces you to simplify complex subjects into a single, flowing line, directly connecting your eye, brain, and hand. It’s one of the most effective drawing warm up exercises for silencing your inner critic and embracing imperfection.
The goal isn't to create a realistic, polished drawing. Instead, the focus is on the process of observation. By keeping your pen or pencil on the page, you train your hand to follow your eyes as they trace the contours of your subject. This method is championed in classic texts like Kimon Nicolaides' The Natural Way to Draw and is a staple in foundational art courses worldwide.
How to Practice Continuous Line Drawing
Getting started is simple. Choose a subject with clear contours, like your non-drawing hand, a piece of fruit, or a houseplant. Place your pen on the paper and begin tracing its outline with your eyes, letting your hand follow in one uninterrupted motion.
Here are a few actionable tips to guide your practice:
- The 80/20 Rule: Spend 80% of your time looking at your subject and only 20% looking at your paper. This strengthens the connection between observation and action.
- Embrace the "Mistakes": The overlapping lines and distorted proportions are part of the exercise. Don't correct them; they show you where your eye-hand coordination is developing.
- Control Your Speed: Move slowly and deliberately. This isn't a race. A slower pace allows for more detailed observation of the subtle curves and edges of your subject.
- Vary Your Subjects: After mastering your hand, move on to more complex forms. Try a self-portrait in a mirror, the interior of your room, or even a pet (if they’ll stay still!).
This quick reference infographic summarizes the core principles of the continuous line drawing exercise.

As the visualization highlights, this exercise is brief, disciplined, and highly effective for its primary purpose: building a stronger bridge between what you see and what you draw.
2. Gesture Drawing
Gesture drawing is a dynamic exercise focused on capturing a subject’s energy, movement, and form in a short amount of time. Instead of rendering details, you use quick, expressive marks to convey the essence and rhythm of the pose. This is one of the most powerful drawing warm up exercises for developing a sense of life and action in your work, forcing you to see the big picture before getting lost in minor details.
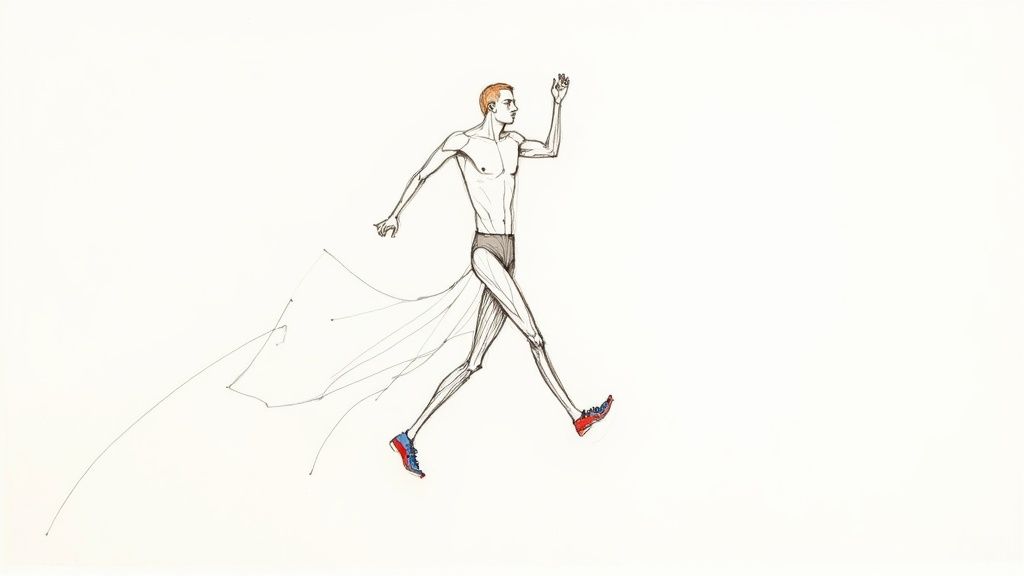
The primary goal is not accuracy but capturing the feeling of the subject, whether it's a person, an animal, or even an inanimate object. This method is foundational in fields where conveying movement is critical. Animation studios like Pixar rely on it for character development, and fashion illustrators use it to sketch dynamic runway poses. Masters of the craft, such as Glenn Vilppu and the late Disney animator Walt Stanchfield, have championed gesture drawing as essential for breathing life into art.
How to Practice Gesture Drawing
To begin, you need a subject and a timer. The most common subjects are human figures, and there are many online resources that provide timed poses. Set your timer for a short duration, typically between 30 seconds and 2 minutes, and draw as much of the core action and form as you can before time runs out.
Here are a few actionable tips to guide your practice:
- Use Your Whole Arm: Draw from your shoulder, not just your wrist. This encourages bigger, more fluid, and confident lines that better capture the flow of a pose.
- Find the Line of Action: Before drawing anything else, identify the main directional line of energy running through the subject, from the head down through the spine and legs. This single, curved line is the foundation of your gesture.
- Don't Erase: The goal is speed and expression. Leave your "mistakes" on the page; they are part of the process. Drawing over previous lines helps build form and find the correct path.
- Start with Longer Poses: If 30-second poses feel too fast, start with 2-minute or 5-minute sessions to get comfortable. Gradually decrease the time to train your speed and observational skills.
- Use Reference Tools: Practice consistently with dedicated tools. For an excellent variety of subjects, you can find numerous pose ideas for drawing on specialized websites.
3. Circle and Ellipse Practice
Circle and ellipse practice is a technical drill focused on building muscle memory for creating smooth, clean, and confident circular shapes. This exercise trains you to engage your entire arm, from the shoulder to the wrist, to produce fluid marks instead of the stiff, shaky lines that often result from drawing with only small hand movements. Mastering these foundational shapes is crucial, as they form the basis of almost everything you draw, from human heads to industrial products.
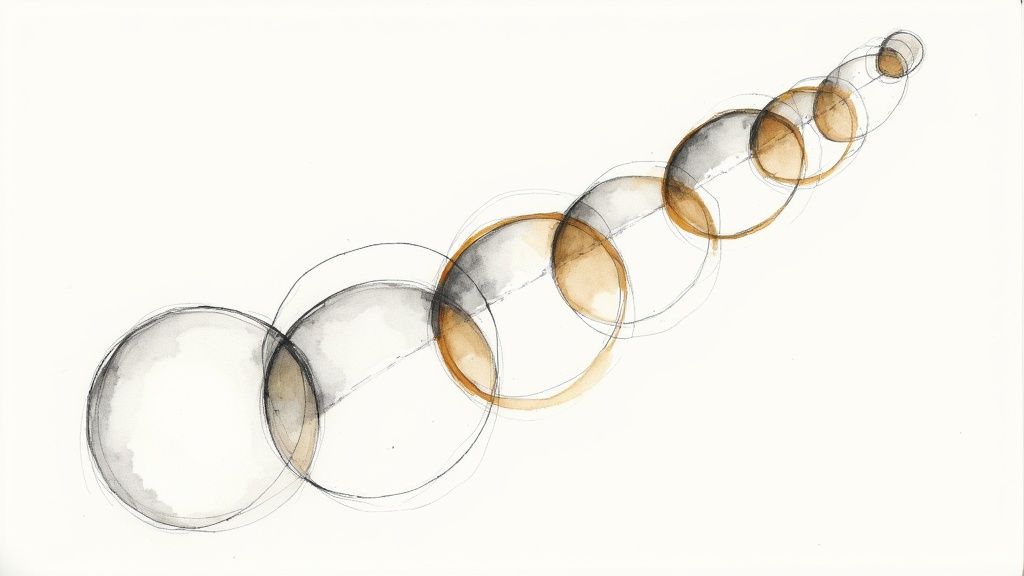
This particular warm-up is a non-negotiable staple in highly disciplined fields like industrial design and animation. Instructors like Scott Robertson and Peter Han have popularized this method, teaching students to fill entire pages with perfectly rendered ellipses as a daily ritual. The practice is less about creating a finished picture and more about calibrating your arm for precision and control, making it one of the most effective drawing warm up exercises for developing technical skill.
How to Practice Circles and Ellipses
To begin, grab a blank sheet of paper and a pencil or pen. Your goal is not to draw one perfect circle but to fill the page with many attempts, focusing on the physical motion. The aim is to build line confidence and mechanical accuracy.
Here are a few actionable tips to guide your practice:
- Draw From Your Shoulder: Lock your wrist and elbow, and use your entire arm, pivoting from your shoulder, to create the circular motion. This creates smoother, larger, and more consistent curves.
- Start Large: Begin by drawing large circles that take up a significant portion of the page. This forces you to use your whole arm. Gradually work your way down to smaller circles, which require finer motor control.
- Use Ghosting and Overlapping: Before your tool touches the paper, "ghost" the motion in the air a few times to get a feel for the shape. Then, draw the circle with a few light, overlapping passes rather than trying to nail it in a single, dark line.
- Vary Direction and Shape: Practice drawing circles in both clockwise and counter-clockwise directions. Once you are comfortable, move on to ellipses of varying degrees and orientations without rotating your paper.
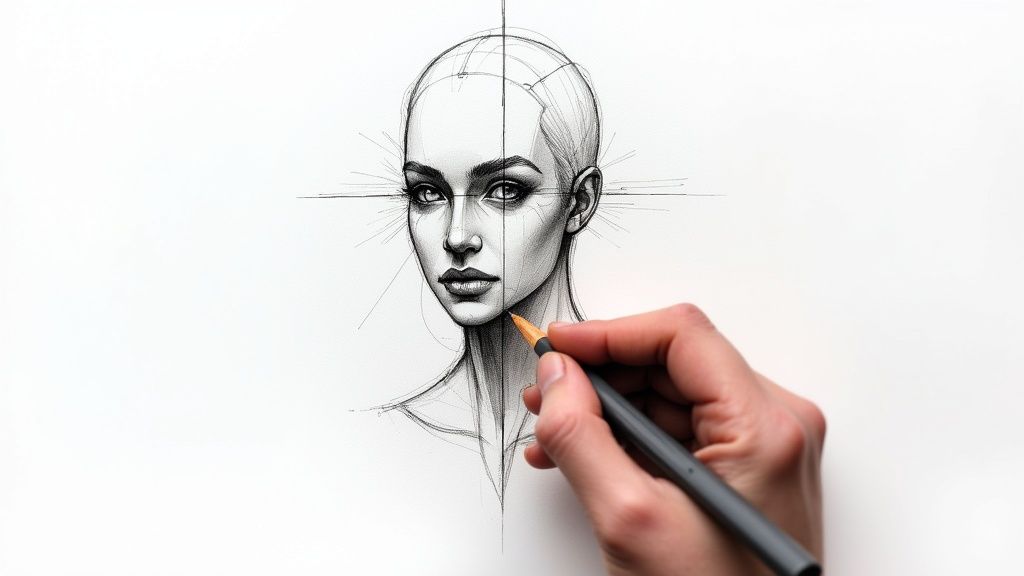
4. Blind Contour Drawing
Blind contour drawing is a pure observational exercise where you draw the outline of a subject without ever looking at your paper. The challenge is to trust your hand to record what your eye is seeing in real-time. This technique is one of the most powerful drawing warm up exercises for strengthening the neural connection between sight and touch, forcing you to prioritize perception over a preconceived idea of what something should look like.
The goal is not to create a recognizable or "good" drawing; in fact, the results are almost always distorted and abstract. Instead, the focus is entirely on the act of seeing. This method, famously championed by authors like Betty Edwards in Drawing on the Right Side of the Brain, strips away the pressure to perform and builds an incredible sensitivity to the nuances of form. It's a core component in many foundational art programs, including the first-year curriculum at the Rhode Island School of Design (RISD).
How to Practice Blind Contour Drawing
The setup is straightforward. Choose a subject with interesting edges, such as your own hand, a crinkled piece of paper, or a complex flower. Fix your gaze on one point along the subject's edge, place your pen on your paper, and begin to draw without looking down.
Here are a few actionable tips to guide your practice:
- Move Extremely Slowly: Imagine your eye is an ant crawling along the edge of your subject. Your pencil should move at that same slow, deliberate pace. The slower you go, the more detail your brain will register.
- Don't Lift or Peek: The "blind" aspect is crucial. Resist the urge to glance at your paper to check your progress. To help with this, you can even place a piece of cardboard over your drawing hand or turn your chair away from your desk.
- Study Every Detail: This is your chance to truly see the tiny bumps, curves, and textures that you normally overlook. If your eye follows a wrinkle in your knuckle, your hand should follow that same path.
- Embrace the Distortion: The final drawing will look strange, and that’s the point. Don't judge the outcome. The value is in the heightened state of observation you achieved during the process, not the artifact left behind.
5. Hatching and Cross-Hatching Practice
Hatching is a technical warm-up focused on developing precision and value control. It involves drawing a series of parallel lines to create tone and texture, while cross-hatching adds another layer of lines over the first at an angle to deepen the shadows. This methodical practice is one of the most effective drawing warm up exercises for building a steady hand and understanding how to build form with lines instead of smudging.
The goal is not just to fill a space but to cultivate consistency in line weight, spacing, and angle. Mastering this technique allows you to create a wide range of values, from delicate grays to rich blacks, giving your drawings depth and dimension. This method is foundational in academic drawing and can be seen in the masterful works of Renaissance artists like Leonardo da Vinci and in the dramatic illustrations of comic book art.
How to Practice Hatching and Cross-Hatching
Begin with a blank page and a simple goal: create even, controlled lines. This exercise doesn't require a complex subject; the focus is purely on the mark-making itself. You can start by drawing simple squares and filling them with different values.
Here are a few actionable tips to guide your practice:
- Maintain Parallel Lines: Focus on keeping your hatching lines parallel and evenly spaced. This discipline is the core of the exercise and builds muscle memory for consistent mark-making.
- Rotate Your Paper: Don't force your hand into uncomfortable positions. Rotate your paper so that you can always draw lines at an angle that feels natural and fluid for your arm's movement.
- Start with Simple Hatching: Master creating even tones with a single set of parallel lines before you begin layering them. Once you feel confident, add a second set of lines (cross-hatching) to create darker values.
- Vary Line Weight and Density: Experiment with how pressure affects your line weight. You can also create darker tones by placing your lines closer together (increasing density) rather than pressing harder.
For some excellent subjects to apply these techniques, explore these easy drawing ideas with pencil, which can help you turn this technical drill into a creative session.
6. Scribble Drawing/Scumbling
Scribble drawing, also known as scumbling, is an expressive and freeing warm-up that involves building up tones and textures with loose, overlapping marks. This technique encourages you to abandon rigid outlines and instead focus on creating form through accumulated scribbles, circular motions, or back-and-forth strokes. It is one of the most liberating drawing warm up exercises for breaking through creative blocks and overcoming perfectionism.
The core idea is not to draw lines but to build value and mass. By layering these seemingly random marks, you can create surprisingly complex forms, rich textures, and deep shadows. This method is incredibly versatile; landscape artists use scumbling to render foliage, while portrait artists might employ it for the soft texture of hair or fabric. It is a fundamental technique in art therapy for its stress-relieving qualities and is often used in children's art education to promote uninhibited creativity.
How to Practice Scribble Drawing/Scumbling
To begin, grab a pencil or charcoal and a piece of paper. Instead of thinking about drawing a specific object, think about filling an area with energy. Let your hand move freely across the page, creating looping, chaotic, or controlled scribbles.
Here are a few actionable tips to guide your practice:
- Vary Your Pressure: Apply light pressure for pale, airy textures and increase it to build darker, denser areas. This is key to creating a sense of light and shadow.
- Experiment with Patterns: Don’t stick to one type of scribble. Try tight circular motions, loose zig-zags, or cross-hatching-style scribbles to see how they affect the texture.
- Use the Side of Your Tool: Turn your pencil or charcoal on its side to create broader, softer marks. This is excellent for quickly establishing base tones over a large area.
- Build Tones Gradually: Avoid making areas too dark too quickly. The power of scumbling lies in the gradual build-up of layers, which adds depth and richness to your drawing.
- Combine and Refine: Once you've laid down a foundation with scribbles, you can refine it with other techniques. Use an eraser to lift highlights or draw sharp lines on top to add definition.
This technique shares a playful spirit with doodling, where freedom of expression is paramount. For more ideas on how to let your hand move without inhibition, you can explore a wide variety of doodle drawing ideas and see how spontaneous mark-making can lead to amazing results. Learn more about the endless possibilities of doodling on drawinglist.com.
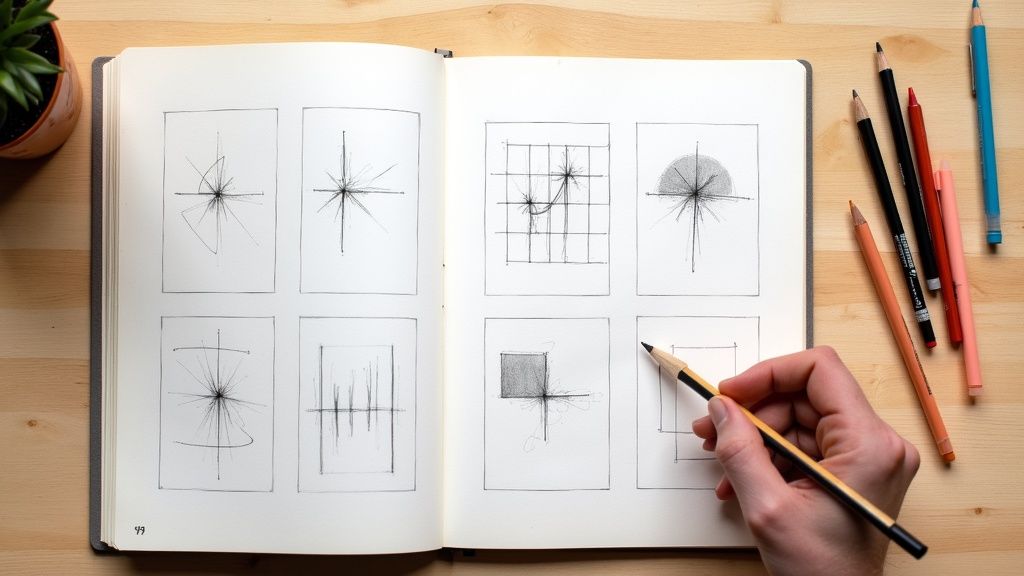
7. Value Scale Studies
Value scale studies are a systematic exercise focused on rendering gradual tonal shifts from light to dark, typically organized into 5 to 10 distinct steps. This practice involves methodically controlling your medium to create smooth, even transitions and achieve consistent value relationships. Mastering value is one of the most critical skills for creating the illusion of three-dimensional form, making this one of the cornerstone drawing warm up exercises for artists of all levels.
The goal is not just to make a grayscale chart, but to train your hand and eye to recognize and replicate specific levels of light and shadow. By isolating value, you learn to see the world in terms of tone rather than just line or color. This fundamental skill is heavily emphasized in classical training methods, such as the 19th-century Bargue-Gérôme drawing course, and remains a core component of modern atelier programs like the Watts Atelier.
How to Practice Value Scale Studies
To begin, draw a long rectangle and divide it into an odd number of boxes, such as 5, 7, or 9. Leave the first box pure white (the value of the paper) and fill the last box with the darkest black your medium can produce. The middle box should be a perfect mid-tone, and then you can fill in the transitional values between them.
Here are a few actionable tips to guide your practice:
- Use a Consistent Stroke: Apply your medium using a consistent stroke pattern, like cross-hatching or small circular motions, to keep each value box uniform. Avoid smudging, as it can create an uneven finish.
- Squint Your Eyes: Squinting at your subject and your scale helps blur out details and makes it easier to compare the main value masses. This trick allows you to accurately judge if your drawing's values match your reference.
- Practice with Different Mediums: Create value scales with graphite, charcoal, and digital brushes. Each medium has a unique feel and tonal range, and this exercise helps you master their specific properties.
- Study Light on Form: Once you have a scale, apply it. Draw a simple sphere and use your value scale as a reference to render the highlights, mid-tones, core shadows, and reflected light, turning a flat circle into a convincing 3D object.
7 Warm-Up Drawing Exercises Comparison
Exercise | Implementation Complexity | Resource Requirements | Expected Outcomes | Ideal Use Cases | Key Advantages |
|---|---|---|---|---|---|
Continuous Line Drawing | Low – simple rules and approach | Minimal – pencil and paper | Improves hand-eye coordination, builds confidence | Quick warm-ups, observational skills | Enhances observation, reduces perfectionism |
Gesture Drawing | Moderate – requires practice timing | Minimal – pencil and paper | Captures movement and energy, improves speed | Figure drawing, dynamic poses | Develops flow, rhythm, and confidence |
Circle and Ellipse Practice | Moderate – focus on shoulder movement | Minimal – pencil and paper | Builds motor control, line confidence | Technical drawing foundation | Improves posture and smooth strokes |
Blind Contour Drawing | Moderate – high discipline needed | Minimal – pencil and paper | Strengthens observational skills, eye-hand coordination | Observational training, mindfulness | Enhances focus, patience, and expression |
Hatching and Cross-Hatching Practice | High – requires precision and patience | Minimal – pencil and paper | Develops line control and understanding of value | Pen & ink work, value creation | Builds detailed texture and tone control |
Scribble Drawing/Scumbling | Low – loose and unstructured | Minimal – pencil and paper | Loosens hand, reduces perfectionism | Warm-ups, stress relief, texture study | Encourages experimentation and relaxation |
Value Scale Studies | Moderate – systematic and repetitive | Minimal – pencil and paper | Improves medium control and value perception | Realistic rendering, tonal training | Builds fundamental value understanding |
Turning Your Warm-Up Into a Creative Habit
The true power of the drawing warm up exercises we've explored, from continuous line drawings to value scale studies, isn't found in a single, isolated session. Instead, their transformative potential is unlocked through consistency. Think of these exercises less as a one-time task and more as a foundational ritual that primes your mind, hand, and eye for the creative work ahead. Just as an athlete stretches before a game, you are preparing your creative muscles for peak performance.
Committing just 10 to 15 minutes to this practice before you begin a major piece can fundamentally reshape your artistic process. It shifts you from a state of hesitation or creative anxiety into a mode of confident, fluid action. This consistent, low-stakes practice is where true growth happens. It’s in the daily repetition of blind contours and gesture drawings that you build an intuitive connection between what you see and what your hand creates.
From Practice to Instinct
Mastering these warm-ups means they eventually become second nature. You'll stop thinking so hard about the mechanics and start feeling the rhythm.
- Muscle Memory: Consistent circle and ellipse drills train your arm and wrist to produce smooth, confident shapes without conscious effort. What starts as a wobbly, deliberate exercise evolves into an instinctive, graceful motion.
- Sharpened Observation: Regular practice with blind contour and gesture drawing forces you to look more deeply and see beyond simple outlines. You begin to notice subtle shifts in weight, form, and energy, translating that perception directly onto the page.
- Creative Readiness: By making these exercises a habit, you effectively eliminate the "blank page" syndrome. A quick scribble drawing or a few minutes of hatching can break the ice, lower the stakes, and get your creative momentum flowing, making it easier to tackle more complex projects.
Actionable Next Steps for Growth
To avoid stagnation and continue your development, it's crucial to evolve your warm-up routine. Don't let your practice become stale or mindless.
- Combine the Concepts: Try a hybrid warm-up. Start with a quick gesture drawing to capture the energy of a subject, then switch to a continuous line drawing to define its contours without lifting your pen. Finish by adding value and texture using hatching and cross-hatching techniques.
- Apply to New Subjects: Use these exercises to explore unfamiliar territory. Do blind contour drawings of your non-dominant hand, gesture drawings of people at a coffee shop, or value studies of a crumpled piece of paper. This challenges your brain and prevents autopilot.
- Set a Timer: Introduce a time constraint to build speed and confidence. Can you capture the essence of three different objects with gesture drawings in under 60 seconds each? This pressure encourages you to focus on the most critical information.
Ultimately, embracing these drawing warm up exercises is an investment in your long-term journey as an artist. You are building a reliable system for overcoming creative blocks, improving your technical skills, and, most importantly, finding more joy and confidence in every single mark you make. This preparatory phase isn't a hurdle before the "real" drawing begins; it is the real drawing.
Ready to turn your warm-up into a daily source of inspiration? Drawing List offers a powerful Drawing Ideas Generator perfect for finding fresh, unique subjects for every exercise. Visit Drawing List to access an endless stream of prompts that will keep your creative practice exciting and ensure you never run out of ideas again.