Facing a blank page can be intimidating for any aspiring artist. The secret to overcoming this hurdle and building a solid artistic foundation isn't raw talent-it's consistent, focused practice. This guide provides a structured collection of fundamental drawing prompts for beginners, each designed to demystify core concepts like form, line, and value.
Each prompt is more than just an idea; it's a structured exercise that isolates a specific skill. This approach transforms the overwhelming task of 'learning to draw' into manageable, confidence-building steps. You will learn practical techniques for observing the world around you and translating it onto paper with accuracy and style.
Whether you aim to master realistic still life, capture the dynamic energy of a moving figure, or simply develop a daily drawing habit, these prompts offer a clear path forward. They provide the essential building blocks needed to bring your creative visions to life. Let's turn that empty page from a source of anxiety into a playground for your imagination.
1. Still Life Drawing
Still life drawing is a foundational practice that involves sketching a composition of inanimate, everyday objects. This classic exercise removes the challenge of movement, allowing you to focus entirely on the core principles of art: form, light, shadow, and texture. It is one of the most effective drawing prompts for beginners because it provides a controlled environment to build essential observational skills.
Still Life Drawing
This method forces you to translate a three-dimensional scene onto a two-dimensional surface, improving your understanding of proportion and perspective. By arranging simple household items, you are in complete control of the composition and lighting, making it a perfect sandbox for artistic experimentation.
Why It's a Great Starting Point
Still life is more than just drawing fruit in a bowl; it’s a fundamental exercise practiced by masters like Paul Cézanne. Its value lies in its simplicity and control. You can start with basic geometric shapes (a cube, sphere, or cone) to master shading and form before moving on to more complex items like wrinkled fabric, transparent glass, or reflective metal. This gradual increase in difficulty builds a solid foundation for tackling more dynamic subjects later on.
Key Insight: The main goal of still life isn't just to copy objects, but to understand how light interacts with them to create form, depth, and volume.
Actionable Tips for Your First Still Life
To get started, you don't need a fancy setup. Gather a few simple objects and place them on a table near a window or under a single lamp.
- Start with Simple Forms: Begin with one or two objects, like an apple and a coffee mug. Focus on capturing their basic shapes accurately before worrying about fine details.
- Control Your Lighting: Use a single, strong light source (like a desk lamp) to create clear, defined shadows. This makes it easier to see and draw the transitions between light and dark areas.
- Look for Basic Shapes: Break down complex objects into simpler geometric forms. A bottle can be seen as a cylinder and a cone, while an apple is fundamentally a sphere. Sketch these underlying shapes first.
- Vary Your Viewpoint: After drawing your arrangement from one angle, move your chair and draw it again from a different perspective. This simple change creates a brand new challenge and deepens your spatial understanding.
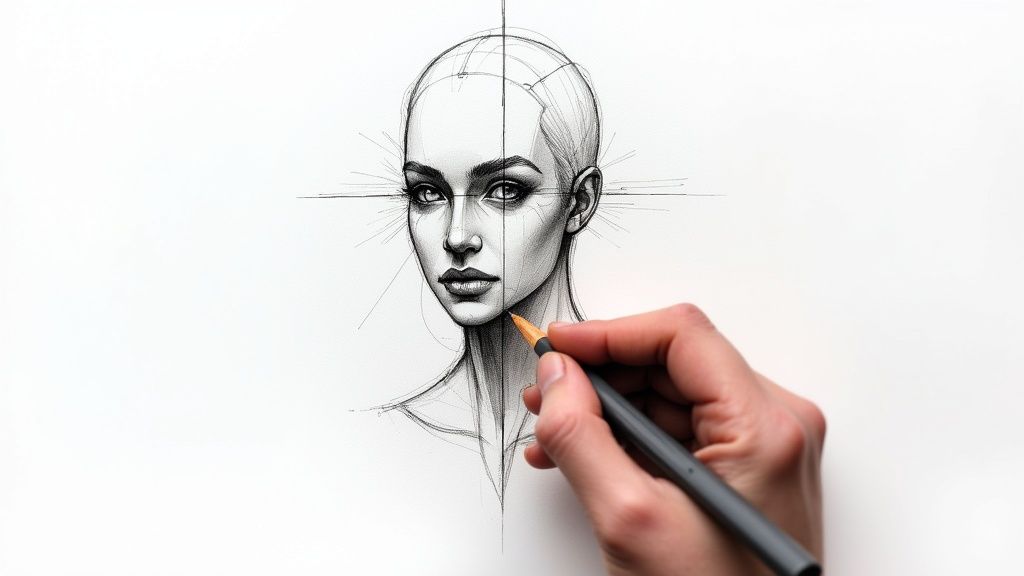
2. Contour Line Drawing
Contour line drawing is an artistic exercise that trains your hand to follow your eye. It involves drawing the outer edges and interior ridges of a subject, creating a detailed outline that captures its form. This powerful technique builds a direct connection between seeing and drawing, forcing you to slow down and observe every curve, bump, and line of your subject. It's one of the best drawing prompts for beginners because it prioritizes observation over creating a perfect, realistic image.
Contour Line Drawing
This method isn't about shading or detail; it's purely about the line. By focusing on the "contours" of an object, you develop superior hand-eye coordination and a deeper appreciation for the subtle complexities of form. The most famous variation is "blind contour drawing," where you draw the subject without looking at your paper at all.
Why It's a Great Starting Point
Popularized by art educators like Kimon Nicolaïdes in The Natural Way to Draw, contour drawing is a meditative practice that silences your brain's "symbol system," which often makes you draw what you think an object looks like rather than what you actually see. This is why beginner drawings of hands can look like cartoon gloves. Contour drawing breaks that habit by forcing pure observation. The resulting images may look distorted, but the skill gained is invaluable for all future artistic endeavors.
Key Insight: The purpose of contour drawing isn't to create a beautiful final product, but to train your eyes to see with intense focus and your hand to act as a direct extension of your vision.
Actionable Tips for Your First Contour Drawing
Your goal is to move slowly and deliberately. Find a quiet spot and choose an object with interesting edges, like your own hand, a crinkled leaf, or a shoe.
- Start with Blind Contours: For your first attempt, try a blind contour. Fix your eyes on one point of your subject and place your pen on the paper. Without looking down, slowly trace the edges you see, imagining your pen is touching the object itself.
- Embrace Imperfection: Your first blind contour drawing will look strange, and that's the point. Don't lift your pen or try to "correct" anything. The value is in the process, not the outcome.
- Move Slowly: Pretend an ant is crawling along the edge of your subject. Your eye, and therefore your pen, should move at that same slow, steady pace. This ensures you are observing, not just glancing.
- Progress to Modified Contours: Once you're comfortable with blind contours, try a "modified" version. Allow yourself to glance at the paper occasionally (perhaps 10% of the time) just to reorient your position. This bridges the gap between pure exercise and compositional drawing.
3. Basic Shape Construction
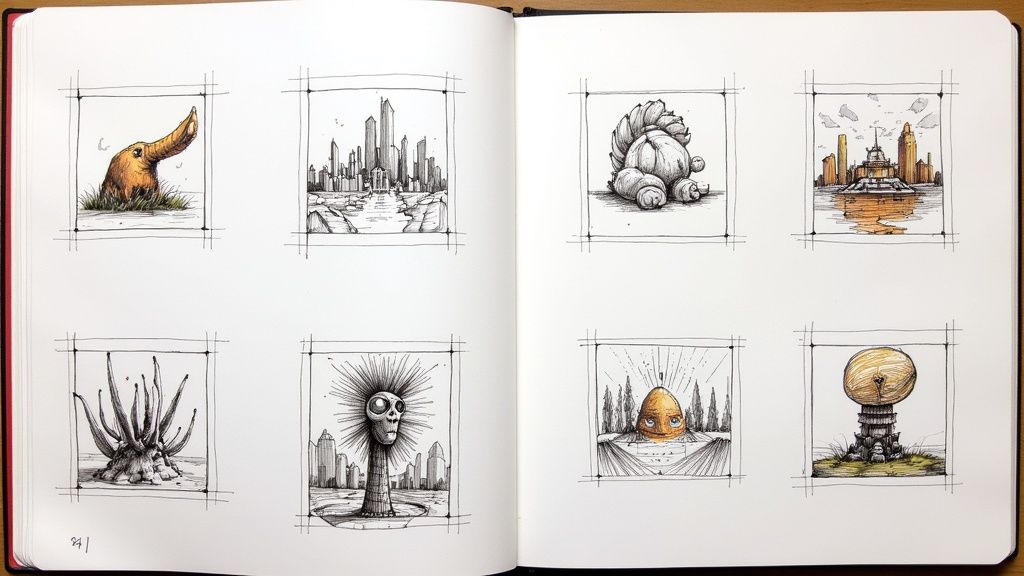
Basic shape construction is a fundamental drawing technique that involves breaking down complex subjects into simple geometric forms. By viewing objects as combinations of circles, squares, triangles, and cylinders, you can build a solid and proportionally accurate foundation before adding any details. This systematic approach is one of the most powerful drawing prompts for beginners, as it transforms intimidating subjects into manageable puzzles.
Basic Shape Construction
This method helps you understand the underlying structure of what you're drawing, rather than just copying its surface-level outlines. Whether it's a car built from rectangular boxes, an animal composed of ovals, or a human figure constructed from spheres and cylinders, this process ensures your drawings have good form and volume from the very start.
Why It's a Great Starting Point
Popularized by legendary animators and taught in traditional art academies, this technique demystifies the drawing process. Instead of getting lost in the details of fur, feathers, or facial features, you first focus on the big picture: proportion, placement, and posture. It allows you to quickly map out a composition and correct major structural errors early on, saving you from the frustration of realizing a mistake after hours of work. This method builds your confidence by providing a reliable, step-by-step framework for any subject.
Key Insight: Seeing the world in basic shapes is like learning the grammar of drawing. Once you master it, you can construct anything you can imagine with accuracy and confidence.
Actionable Tips for Practicing Shape Construction
The goal is to train your brain to simplify what you see. Pick any object around you and start breaking it down into its core components.
- Start with Light Guidelines: Always begin your drawing with very light, sketchy lines to create the foundational shapes. These "scaffolding" lines can be easily erased or drawn over as you refine the drawing.
- Identify Shapes in Everyday Objects: Look at a coffee pot and see a cylinder, a cone, and a curved rectangle. See a house as a large cube with a triangular prism on top. This mental exercise can be done anywhere, anytime.
- Focus on Proportional Relationships: Pay attention to how the shapes relate to each other. How big is the circular shape of a cat’s head compared to the oval of its torso? Getting these relationships right is key to a believable drawing.
- Gradually Refine Your Forms: Once your basic shape structure is in place and the proportions look correct, begin to connect and sculpt the lines. Slowly transform the simple geometric forms into the more organic, detailed outlines of your final subject.
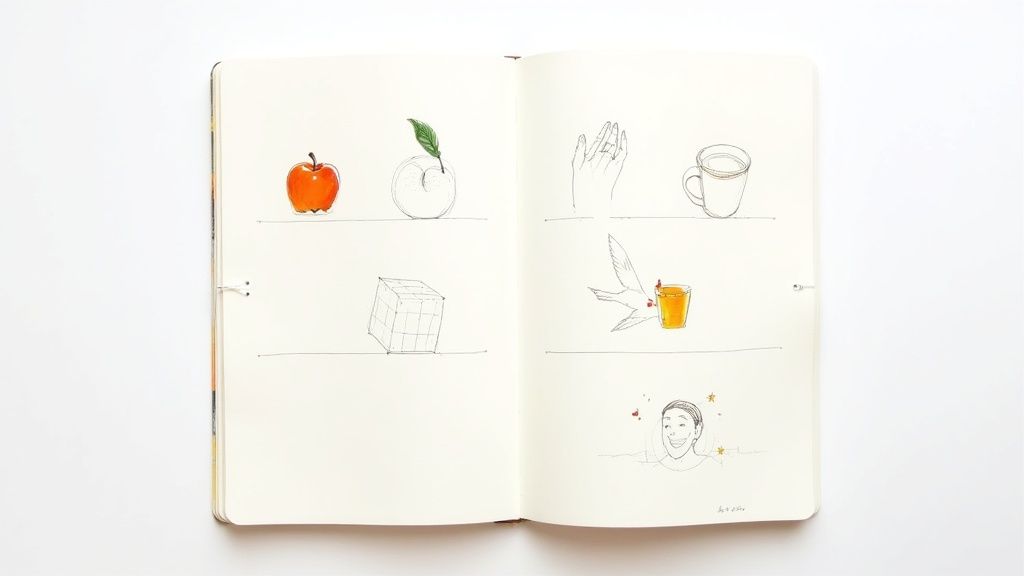
4. Daily Object Studies
Daily object studies involve the simple yet powerful habit of drawing one common item each day. This approach transforms drawing from an occasional hobby into a consistent practice, demystifying the process by breaking it down into manageable, daily exercises. As one of the most accessible drawing prompts for beginners, it builds a routine of careful observation and gradually expands your visual library without feeling overwhelming.
Daily Object Studies
The method’s strength lies in its low-stakes, high-repetition nature. By focusing on a single object, like a coffee cup or a shoe, you can dedicate your full attention to understanding its specific form, texture, and how light falls across its surface. Over time, this daily ritual hones your skills and builds confidence far more effectively than infrequent, large-scale projects.
Why It's a Great Starting Point
Popularized by art communities like the Urban Sketchers and social media challenges, the daily study is about progress over perfection. Its value is in building a sustainable creative habit. You can start with something incredibly simple, like a kitchen utensil, to practice cylindrical forms, and then move to a crinkled paper bag the next day to study complex shadows and textures. This variety keeps the practice engaging while reinforcing core drawing principles on a daily basis.
Key Insight: The goal of daily studies isn't to create a masterpiece every day, but to build the muscle memory and observational habits that make creating masterpieces possible.
Actionable Tips for Your First Daily Study
Starting this habit is easy since your subjects are all around you. Designate a specific sketchbook just for these daily drawings to track your progress.
- Set a Time and a Timer: Dedicate 15-30 minutes at the same time each day to draw. Using a timer helps you focus on capturing the essence of the object without getting lost in minor details.
- Choose Varied Subjects: Don't draw the same thing every day. Alternate between organic objects (a piece of fruit), hard-surfaced items (a stapler), and soft textures (a sock).
- Focus on One Element: For each study, pick a single goal. One day, focus only on the outline (contour). The next, concentrate entirely on shading (value). This isolates skills for faster improvement.
- Keep It Simple: The object doesn't have to be exciting; it just has to be available. Keys, a salt shaker, or a pair of glasses are all excellent subjects for building foundational skills.
For more ideas to keep your daily practice fresh, explore these daily drawing prompts.
5. Gesture Drawing
Gesture drawing is a dynamic practice focused on capturing the action, form, and energy of a subject with quick, expressive marks. Instead of rendering fine details, this exercise trains you to see the overall movement and essence of a pose. These sketches are typically completed in very short intervals, from 30 seconds to just a few minutes, making it an excellent method for loosening up and building confidence.
This technique is one of the most powerful drawing prompts for beginners because it eliminates the pressure of creating a perfect, polished piece. Its goal is to develop an intuitive understanding of human and animal anatomy, rhythm, and flow, forcing you to make decisive, fluid lines rather than hesitant, overworked ones.
Why It's a Great Starting Point
Gesture drawing is fundamental for artists who want to draw living subjects, as it teaches you to capture life and movement quickly. Popularized in the training programs of animation giants like Walt Disney Studios, it’s designed to improve your hand-eye coordination and your ability to simplify complex forms. By focusing on the "line of action," a single, expressive line that follows the main movement of a pose, you learn to convey a powerful sense of motion with minimal information.
Key Insight: Gesture drawing is not about what a subject looks like, but what it is doing. The focus is on energy and action, not accuracy.
Actionable Tips for Your First Gesture Drawings
You can practice gesture drawing anywhere you see people or animals in motion. Online tools with timed photo slideshows are also fantastic resources for structured practice.
- Use the Side of Your Pencil: Hold your pencil or charcoal stick on its side to create broad, flowing strokes rather than tight, precise lines. This encourages you to use your whole arm, not just your wrist.
- Focus on the Line of Action: Before drawing anything else, identify the primary curve or line of movement in the pose. Start with this line to establish the overall rhythm of your drawing.
- Keep Your Pencil on the Page: Try to create your drawing with one or two continuous lines. This helps maintain a fluid, connected feel and prevents you from getting bogged down in small details.
- Set a Timer: Challenge yourself with short, timed sessions. Start with two-minute poses, then gradually reduce the time to one minute or even 30 seconds to train your brain to see the most essential information first. Looking for more inspiration? You can find many more quick sketch drawing ideas on drawinglist.com.
6. Copy Master Drawings
Copying master drawings is a time-honored educational practice where you reproduce works by renowned artists. This method goes beyond simple imitation; it’s a deep-dive analysis of an expert's technique, decision-making process, and artistic vision. This exercise removes the pressure of originality, allowing you to focus entirely on the "how" of drawing: line weight, shading, composition, and anatomy. It is one of the most direct drawing prompts for beginners to learn from the best.
By meticulously recreating a piece, you are essentially reverse-engineering the artist’s process. You begin to understand how artists like Leonardo da Vinci captured the subtle anatomy of a hand or how Albrecht Dürer rendered intricate textures with simple lines. This method provides a structured lesson in classical drawing techniques that have been tested and refined over centuries.
Why It's a Great Starting Point
Studying masterworks is like taking a private lesson from history’s greatest artists. It’s an invaluable way to build your visual library and understand artistic problem-solving. When you copy a drawing by Rembrandt, you’re not just drawing a face; you’re learning how he used expressive marks and deep shadows to convey emotion. This practice, central to classical art academies and modern ateliers, accelerates skill development by providing a clear road map of what successful drawing looks like.
Key Insight: The purpose of copying is not to create a perfect replica, but to internalize the master’s techniques, rhythms, and thought processes, making their knowledge a part of your own skill set.
Actionable Tips for Your First Master Copy
Find high-resolution images of master drawings online from museum websites or art archives. Start with drawings that are clear and not overly complex.
- Start with Simpler Works: Begin with studies or sketches rather than highly finished pieces. Look for line drawings by artists like Dürer or single-figure studies by Raphael to focus on form and line quality first.
- Focus on Process, Not Perfection: Don't get discouraged if your copy isn't exact. The goal is learning. Pay attention to how the artist used their tools. Ask yourself: Are the lines confident and quick, or slow and deliberate?
- Analyze the Drawing: Before you start, analyze the original. Identify the light source, the main shapes, and the areas of highest contrast. Try to understand the "why" behind each mark the artist made.
- Use a Grid System: For more complex drawings, lightly draw a grid over your paper and the reference image. This helps you manage proportions and placement, allowing you to focus on the details and techniques within each square.
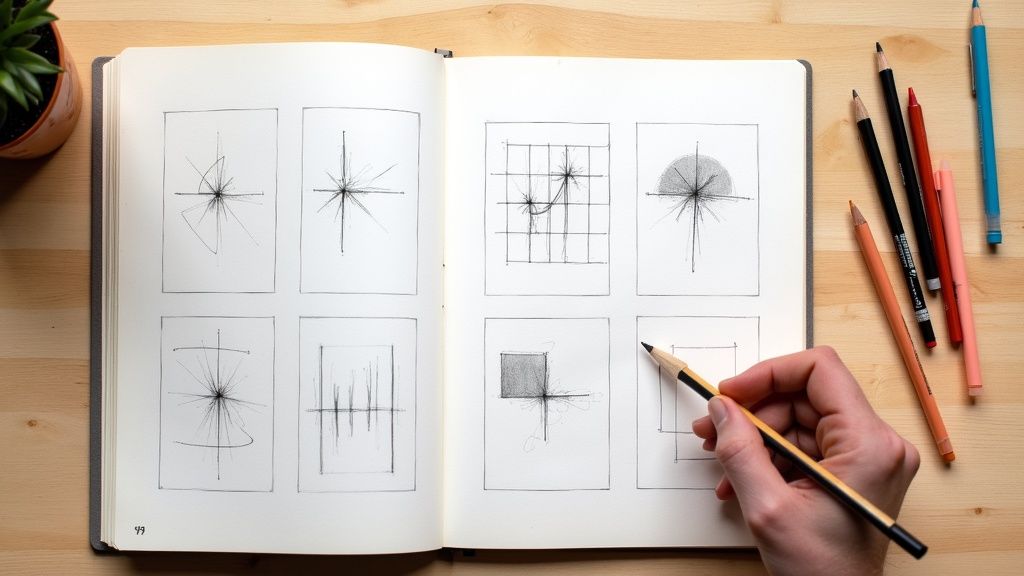
7. Value and Shading Studies
Value and shading studies are targeted exercises that focus exclusively on the spectrum of light and dark, known as value. Instead of concentrating on complex subjects, these drawing prompts for beginners break drawing down to its most essential element: how light reveals form. This practice teaches you to render three-dimensional objects on a two-dimensional surface by accurately representing highlights, mid-tones, and shadows.
By isolating value, you learn to see the world not as a series of lines, but as a collection of shapes defined by light. This skill is crucial for creating drawings that feel solid, realistic, and full of depth, transforming flat sketches into convincing representations of reality.
Why It's a Great Starting Point
Value is what gives a drawing its sense of volume and realism. Artists like Harold Speed and Andrew Loomis emphasized these studies because they build a fundamental understanding of light logic. Starting with a simple sphere or cube allows you to master how light wraps around a form before applying that knowledge to more intricate subjects like portraits or drapery.
This deliberate, focused practice trains your eye to perceive subtle tonal shifts. Once you can accurately render the values on a simple geometric shape, you will be equipped to tackle the complex value patterns found in any subject you choose to draw, making this one of the most powerful foundational exercises.
Key Insight: A drawing with accurate values but imprecise lines will often look more realistic than a drawing with perfect lines but flat, incorrect shading.
Actionable Tips for Your First Value Study
Find a simple object like an egg or a cardboard box and place it under a single, direct light source to begin.
- Create a Value Scale: Before you start, draw a small chart with at least five boxes. Fill them in with tones ranging from pure white to the darkest black your pencil can make. Use this as a reference to match the values you see.
- Use a Single Light Source: Position a desk lamp to cast clear, defined shadows on your object. This simplifies the light and shadow patterns, making them much easier to identify and draw.
- Squint Your Eyes: Squinting at your subject helps blur out distracting details and simplifies the scene into large, basic shapes of light and dark. This makes it easier to identify the main value masses.
- Build Tones Gradually: Start by lightly shading the entire shadow area with a mid-tone. Then, slowly build up darker values in layers. Avoid starting with your darkest blacks, as this can be difficult to correct. Materials like charcoal are excellent for this kind of work. To dive deeper, you can explore some charcoal drawing tips for beginners.
7 Drawing Prompt Methods Compared
Drawing Method | Implementation Complexity | Resource Requirements | Expected Outcomes | Ideal Use Cases | Key Advantages |
|---|---|---|---|---|---|
Still Life Drawing | Moderate | Basic drawing tools, objects | Improved form, light, shadow, texture | Beginners learning fundamental concepts | Stationary subjects; develops observation |
Contour Line Drawing | Low | Pencil, paper | Enhanced hand-eye coordination | Absolute beginners practicing outlines | Quick skill growth; minimal materials |
Basic Shape Construction | Moderate | Pencil, eraser, paper | Better proportion and structure | Beginners breaking down complex forms | Systematic approach; applicable universally |
Daily Object Studies | Low to Moderate | Basic tools, household items | Consistent skill improvement | All skill levels fostering habit | Variety of subjects; sustainable practice |
Gesture Drawing | Low to Moderate | Pencil, paper, timer/tools | Capturing movement and energy | Figure and movement sketching | Builds confidence; expressive style |
Copy Master Drawings | High | Quality references, tools | Mastery of techniques, mark-making | Intermediate to advanced skill building | Learning from masters; technique exposure |
Value and Shading Studies | Moderate | Drawing tools, shading media | Realistic light, shadow, and volume | Improving realism and dimensionality | Fundamental to realistic drawing |
From Prompts to Passion: Your Next Steps in Drawing
You have now explored a foundational collection of drawing prompts for beginners, each designed to systematically build your artistic skills. From the quiet observation of Still Life to the dynamic energy of Gesture Drawing, these exercises are more than just ideas; they are a structured pathway to developing your eye, hand, and creative mind. We've moved beyond simple suggestions, providing you with actionable strategies for each prompt, ensuring you know not just what to draw, but how to approach it for maximum growth.
The core takeaway is that deliberate practice, guided by specific goals, is the engine of artistic improvement. A simple contour line drawing isn't just about tracing an edge; it's an exercise in seeing and simplifying. A value study isn't just shading; it's learning to sculpt form with light. By engaging with these prompts, you have begun to build a visual library and a set of fundamental skills that will serve you in every future artwork you create.
Turning Practice into a Sustainable Habit
The true challenge for any aspiring artist isn't finding a single great idea, but building a consistent creative habit. The prompts in this guide, from Basic Shape Construction to Copying Master Drawings, are designed to be repeatable and scalable. Your goal should be to integrate these exercises into a regular routine, transforming them from one-off tasks into a sustainable practice.
Here are some actionable next steps to ensure your momentum continues:
- Create a "Prompt Schedule": Don't leave your practice to chance. Dedicate specific days to specific prompts. For example, Mondays could be for 10-minute gesture drawings, Wednesdays for a detailed daily object study, and Fridays for a longer session on value and shading. This structure removes the guesswork and decision fatigue.
- Start a "Progress Sketchbook": Dedicate one sketchbook solely to these foundational exercises. Date every entry. In a few weeks or months, you will have a tangible, visual record of your improvement. Seeing how far you've come is one of the most powerful motivators.
- Combine the Concepts: As you become more comfortable, start mixing the prompts. Try a gesture drawing of a person, but then break down their form using basic shape construction. Or, create a still life arrangement and focus solely on a contour line study of the objects within it. This cross-pollination of skills is where true mastery begins.
Why This Foundation Matters
Mastering these fundamental drawing prompts for beginners is not about creating a portfolio of perfect drawings. It's about building the non-negotiable skills that underpin all forms of visual art. Every complex character design, breathtaking landscape, or imaginative fantasy scene is built upon an understanding of form, line, value, and gesture. By dedicating time to these core exercises, you are laying a rock-solid foundation that will allow your creativity to flourish without being hindered by technical limitations. You are learning the language of art, one prompt at a time. The journey from your first tentative mark to a confident, expressive style begins with the simple, focused practice you've learned about today. Keep your pencil moving, stay curious, and embrace every drawing as a valuable lesson.
Ready to move beyond this list and never run out of ideas again? The Drawing List idea generator offers thousands of unique, categorized drawing prompts for beginners and experts alike. Find your next creative challenge at Drawing List and keep your artistic journey moving forward today.