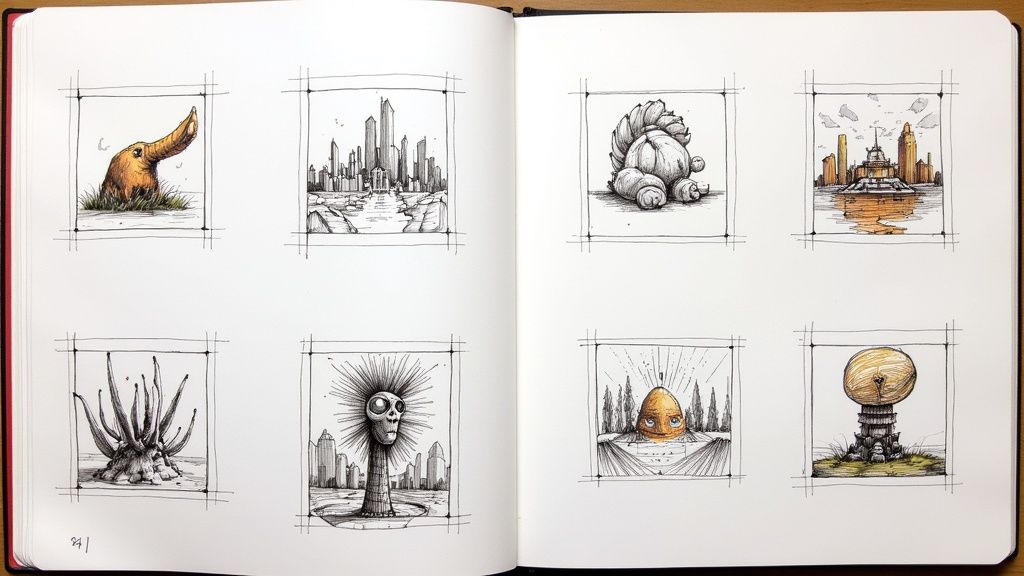
Every artist, from the aspiring hobbyist to the seasoned professional, reaches a point where progress feels stagnant. The desire to create stunning work is strong, but the path forward can seem unclear. The solution isn't about finding a secret technique or buying expensive tools; it's about returning to the fundamentals through consistent, targeted practice. This guide provides a curated collection of powerful drawing exercises to improve your skills, moving you past creative plateaus and into a new phase of artistic growth. We will bypass generic advice and dive straight into actionable drills designed to build a solid foundation.
Each exercise is structured to target specific core competencies: the fluid lines of gesture drawing, the observational precision of still life, the structural logic of perspective, and the foundational understanding gained from studying the masters. By dedicating time to these practices, you are not just doodling; you are intentionally training your hand, eye, and mind to work in unison. You will learn to see the world not just as objects, but as a collection of shapes, values, and forms waiting to be captured on the page. This list is your roadmap to building the technical proficiency and creative confidence needed to translate your vision into compelling art. Let’s begin.
1. Contour Drawing
Contour drawing is a classic and powerful foundational exercise designed to sharpen your observational skills and improve hand-eye coordination. The core principle is simple yet challenging: you draw the outline of a subject by focusing exclusively on its edges, curves, and details, often without looking at your paper. This technique forces you to break free from your brain's preconceived symbols for objects (like a generic "eye" or "hand") and instead draw what you truly see. It is one of the most effective drawing exercises to improve your connection between sight and action.
Popularized by art educators like Kimon Nicolaïdes in The Natural Way to Draw and Betty Edwards in Drawing on the Right Side of the Brain, this method is a staple in art school foundation courses for good reason. It builds the crucial skill of observation, which is the bedrock of all representational art.
How to Practice Contour Drawing
- Select Your Subject: Start with something that has interesting but manageable contours, like your own hand, a crumpled piece of paper, a piece of fruit, or a houseplant.
- Position Yourself: Sit comfortably where you can see your subject clearly without needing to move your head. Place your sketchbook to the side so you aren't tempted to look down.
- Begin Drawing: Place your pen or pencil on the paper. Now, fix your eyes on a point along the edge of your subject. Imagine your pencil point is physically touching that edge.
- Trace with Your Eyes: Slowly move your eyes along the contour of the object. As your eyes move, your hand should move at the exact same speed, tracing the line onto the paper. Do not lift your pen or look at the paper.
Key Insight: The goal isn't a "pretty" picture. The goal is the intense, meditative focus of the exercise itself. The strange, distorted drawings that often result are proof that you are succeeding in bypassing your brain's shortcuts and truly observing.
Tips for Success
- Go Slow: The slower you go, the more detail your eye can absorb and translate through your hand.
- Use a Pen: Using a pen or fine-liner marker removes the temptation to erase and "correct" your lines. This reinforces the focus on process over product.
- Try Variations: Once you're comfortable with blind contour drawing, try a "modified" version where you allow yourself to glance at the paper briefly every 30-60 seconds to reorient yourself. Another great variation is cross-contour drawing, where you draw lines that travel across the form's surface to describe its volume and three-dimensional shape.
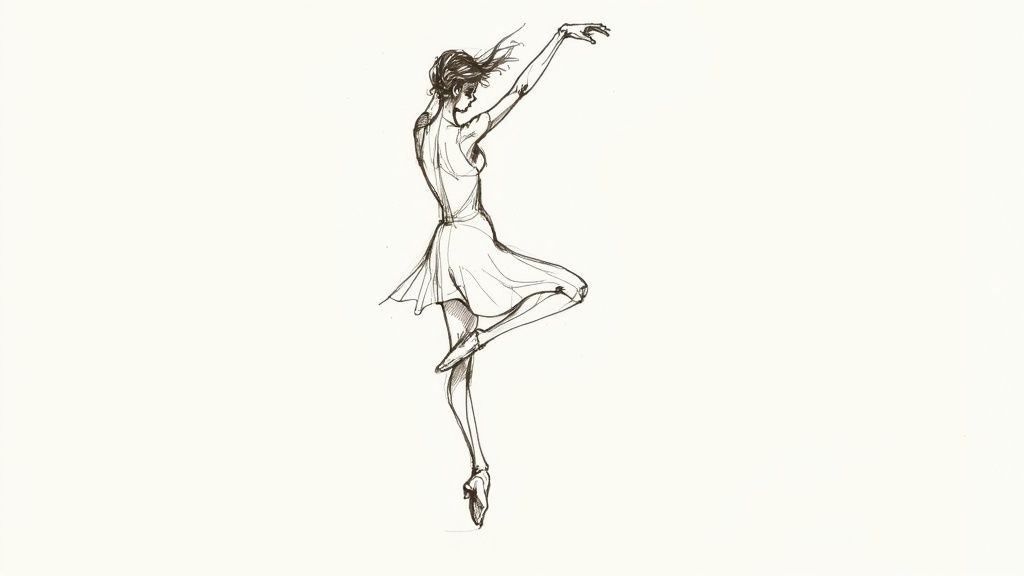
2. Gesture Drawing
Gesture drawing is a dynamic and essential exercise focused on capturing the action, energy, and movement of a subject, rather than its intricate details. The goal is to rapidly render the form's essential "gesture" or flow, typically in very short time frames ranging from 30 seconds to 5 minutes. This technique trains your hand to work in unison with your eye to identify and convey the core essence of a pose, making it one of the most vital drawing exercises to improve your ability to create lively, expressive figures.
Championed by legendary figures like Kimon Nicolaïdes and Glenn Vilppu, and a cornerstone practice in animation studios like Walt Disney's, gesture drawing is fundamental for anyone interested in figure drawing or animation. It teaches you to see subjects not as a collection of static outlines but as holistic forms defined by rhythm, weight, and motion. This exercise is key to breaking stiff, rigid drawing habits. To explore this further, you can find a variety of drawing practice exercises on DrawingList.com.
How to Practice Gesture Drawing
- Find Your Subject: Live figure drawing classes are ideal, but you can also use online gesture drawing tools, videos of athletes or dancers, or even sketch people in a park. The key is to have subjects in dynamic poses.
- Set a Timer: Start with short durations like 30 or 60 seconds. This forces you to focus only on the most critical information and avoid getting bogged down in detail.
- Find the Line of Action: Before drawing anything else, identify the primary curve or line that runs through the pose, often following the spine. This single line establishes the entire drawing's energy.
- Draw with Confidence: Use quick, flowing, and continuous strokes. Connect the major forms of the body (head, torso, limbs) with sweeping lines that capture the overall rhythm and movement of the pose.
Key Insight: Gesture drawing is not about creating a finished, accurate drawing. It is a kinesthetic exercise designed to build your intuitive understanding of form and movement. The drawing is a record of your perception, not a final product.
Tips for Success
- Look for the Flow: Focus on the relationships and connections between forms. How does the angle of the shoulders relate to the hips? Where is the weight being supported?
- Use Broad Strokes: Draw with your whole arm, not just your wrist. Using the side of a charcoal stick or pencil can help you create broad, expressive marks rather than tight, controlled lines.
- Don't Erase: Let your "mistakes" exist. Drawing over lines to correct the form is part of the process and adds to the drawing's energy and sense of exploration.
- Embrace Exaggeration: Don't be afraid to push the pose slightly to emphasize the movement or tension. This will make your final drawings feel more alive and dynamic.
3. Still Life Drawing
Still life drawing is a foundational practice focused on rendering inanimate objects arranged in a composition. This exercise provides a controlled environment, allowing you to master core skills like proportion, value, texture, and lighting without the challenge of movement or changing conditions. By carefully arranging objects like fruit, glassware, or books, you create a static scene where you can deeply study form, shadow, and compositional harmony. It remains one of the most effective drawing exercises to improve your understanding of how light interacts with form.

This discipline has been a cornerstone of artistic training for centuries, central to academic art institutions and championed by masters like Jean-Baptiste-Siméon Chardin and Paul Cézanne. Modern artists such as Giorgio Morandi, known for his subtle and meditative bottle paintings, continued to explore its profound possibilities. This time-honored practice forces you to slow down and translate the three-dimensional world onto a two-dimensional surface with accuracy and sensitivity.
How to Practice Still Life Drawing
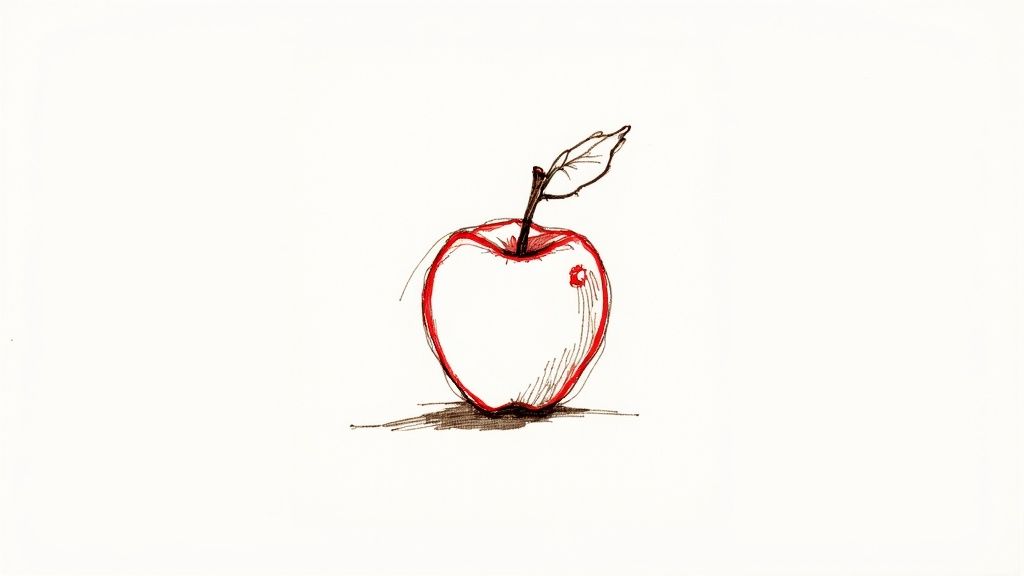
- Arrange Your Subject: Select two to three objects with varying shapes and textures, like a sphere (an apple), a cylinder (a glass), and a cube (a small box). Arrange them on a flat surface against a simple backdrop.
- Establish a Light Source: Position a single, strong light source (like a desk lamp) to the side of your arrangement. This will create clear, consistent highlights and cast shadows, making the forms easier to understand and draw.
- Compose Your Shot: Look at your setup from different angles. Use your hands or a small cardboard "viewfinder" to frame the composition you find most interesting.
- Block In and Refine: Lightly sketch the basic, large shapes of your objects, focusing on their placement and proportions relative to one another. Once you are happy with the overall composition, begin refining the contours and adding details and shading.
Key Insight: A still life is not just a random collection of items; it's a deliberate composition. The relationship between objects, the negative space around them, and the flow of light are as important as the objects themselves.
Tips for Success
- Start Simple: Begin with basic geometric objects. Drawing spheres, cubes, and cones will build your confidence in rendering form before you tackle more complex items.
- Focus on Value: Squint your eyes at the scene to simplify it into major areas of light, mid-tone, and shadow. Focus on capturing these value relationships accurately to create a sense of depth and realism.
- Systematically Practice Textures: Dedicate some drawings to specific textures. Set up a still life with only metallic objects, then one with only rough, organic objects. This targeted practice will expand your visual library.
4. Perspective Drawing Exercises
Perspective drawing is the systematic method of creating a convincing illusion of three-dimensional depth and space on a two-dimensional surface. This is achieved by using linear perspective principles, where objects appear to diminish in size as they recede into the distance towards one or more vanishing points on a horizon line. Mastering these rules is a fundamental drawing exercise to improve the realism and structural integrity of your environments, objects, and scenes.
Codified during the Renaissance by artists like Filippo Brunelleschi and Leon Battista Alberti, and modernized for entertainment design by educators like Scott Robertson, perspective is the grammar of realistic drawing. It is essential for creating believable architectural scenes, dynamic comic book backgrounds, and expansive concept art. For more foundational skills, explore these drawing techniques for beginners on drawinglist.com.
Here is a quick reference summarizing the core components of perspective practice.
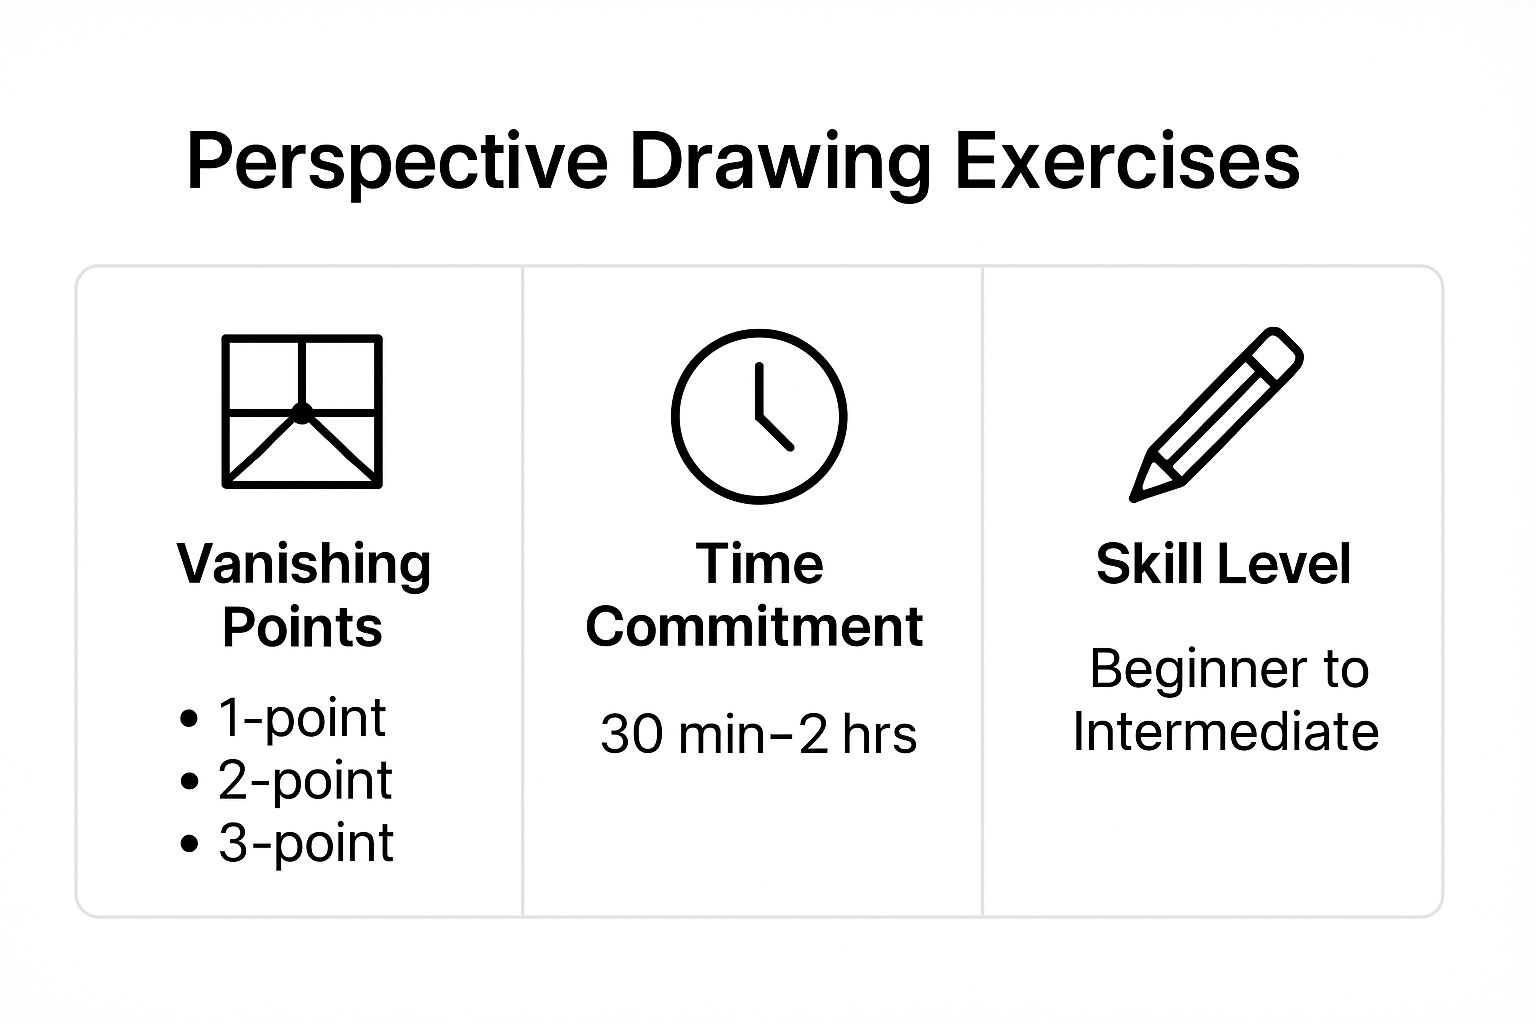
This highlights that mastering perspective involves progressing from simple one-point setups to more complex multi-point systems, with dedicated practice sessions being key.
How to Practice Perspective Drawing
- Establish Your Horizon Line: Draw a horizontal line across your paper. This represents the eye level of the viewer. Everything will recede toward this line.
- Set Your Vanishing Point(s): For one-point perspective, place a single dot on the horizon line. All receding parallel lines will converge at this point.
- Draw a Simple Shape: Start by drawing a square or rectangle a short distance away from the vanishing point. This shape represents the front plane of your object, facing the viewer directly.
- Draw Converging Lines: From each corner of your shape, draw a light, straight line that connects to the single vanishing point. These are your orthogonal lines.
- Define the Back Edges: To complete the illusion of a 3D box, draw a smaller, parallel version of your original shape between the orthogonal lines. Erase the extra guidelines to reveal your finished form.
Key Insight: Perspective is not just an artistic trick; it is a system of logic. Once you understand the rules of one-point, two-point, and three-point perspective, you can construct any complex object or environment with accuracy and confidence.
Tips for Success
- Start with Boxes: Before drawing complex scenes, master drawing simple cubes in different orientations above, below, and on the horizon line. This builds a strong foundational understanding.
- Use a Ruler: Initially, use a ruler to ensure your orthogonal lines are perfectly straight. This helps train your eye and hand to understand the system before moving to freehand sketching.
- Master One-Point First: Solidify your understanding of one-point perspective before moving on to the more complex two-point and three-point systems. Each level builds upon the last.
- Study Real-World Examples: Look at architectural photography, city streets, and room interiors. Actively identify the horizon line and vanishing points in the images you see to internalize the concepts.
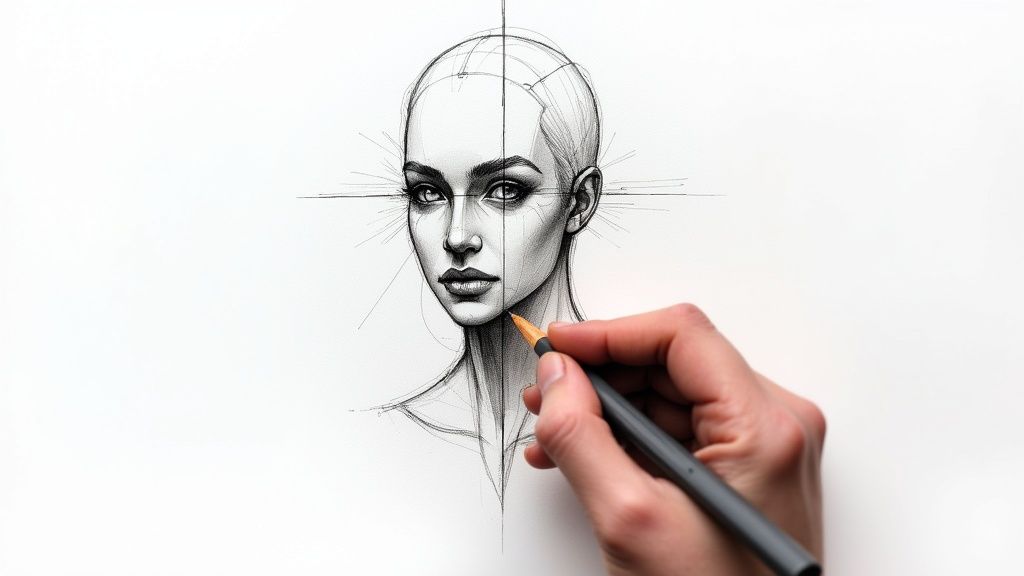
5. Value Studies
Value studies are focused exercises in translating the world from color into a full range of tones, from the brightest white to the deepest black. This practice is about learning to see and render light and shadow, which is the very foundation of creating form, depth, and atmosphere in a drawing. By ignoring color and concentrating solely on tonal relationships, you train your brain to perceive the underlying structure of a scene, creating a sense of three-dimensional reality on a two-dimensional surface. It is one of the most critical drawing exercises to improve your ability to create believable and impactful art.
This method has been a cornerstone of artistic training for centuries, mastered by artists like Rembrandt with his dramatic use of chiaroscuro and John Singer Sargent with his fluid, confident value shapes. It remains a fundamental part of academic art traditions and contemporary realism, teaching artists to build a drawing's structure with light and shadow before considering color.
How to Practice Value Studies
- Create a Value Scale: Before you start, draw a simple chart with 5 to 7 boxes. Fill the first with your paper's white, the last with your darkest pencil/charcoal tone, and then create evenly stepped grays in between. This will be your reference.
- Select a Subject: Simple, high-contrast subjects work best initially. A white egg on a dark cloth, a single piece of fruit under a strong light source, or a plaster cast are excellent choices.
- Make a Thumbnail Sketch: Lightly sketch the basic outlines of your subject. The focus here is not on perfect lines but on mapping out the main shapes of light and shadow.
- Block in the Values: Match the tones you see in your subject to the tones on your value scale. Start by filling in the darkest darks and the lightest lights, then work your way through the mid-tones. Focus on shapes of value, not on individual objects.
Key Insight: Squint your eyes when looking at your subject. This simplifies the scene by blurring out small details and grouping complex areas into larger, more manageable shapes of light, mid-tone, and shadow. This trick instantly clarifies the value structure.
Tips for Success
- Limited Palette: Start with a limited range of 3-5 values. This forces you to make decisive choices about which tones belong in the "light," "middle," or "dark" family, which is a powerful simplification tool.
- Use Grayscale Photos: Taking a black and white photo of your setup on your phone can provide a helpful reference. It removes the confusing influence of color and allows you to check the accuracy of your tonal relationships.
- Work from Dark to Light: If using charcoal or graphite, it's often easier to establish your darkest values first. This gives you a benchmark against which all other, lighter tones can be judged, preventing your drawing from becoming washed out.
6. Drawing from Master Studies
Drawing from Master Studies is a time-honored practice where an artist learns by copying the works of past masters. This exercise goes beyond simple imitation; it's an act of deep analysis that allows you to deconstruct an expert's decision-making process. By recreating a drawing by Leonardo da Vinci or a painting by Vincent van Gogh, you gain direct insight into their approach to composition, anatomy, light, and line work. This is one of the most direct drawing exercises to improve your technical vocabulary and artistic judgment.
This method has been a cornerstone of artistic training for centuries, from traditional European ateliers to modern realist academies. Many of the greatest artists in history, including Degas and Van Gogh, dedicated significant time to copying masters like Millet and Delacroix to hone their craft. It provides a structured way to stand on the shoulders of giants and absorb centuries of accumulated knowledge. You can learn more about how to improve your drawing skills on drawinglist.com through this and other methods.
How to Practice Master Studies
- Select Your Masterwork: Choose a high-resolution image of a drawing or painting that resonates with you. Start with works that are strong in the specific skill you want to develop, such as the line work of Dürer or the value structure of Rembrandt.
- Analyze First, Draw Second: Before making a mark, study the piece. Identify the main lines of action, the major shapes, the light source, and the value groupings. Try to understand the "why" behind the master's choices.
- Begin the Copy: Lightly sketch the foundational structure and composition. Focus on getting the proportions and placement correct before moving into detail. Pay close attention to how the master used different types of lines or shading techniques.
- Reflect and Compare: Once finished, compare your study to the original. Note where you succeeded and where you struggled. Write down observations about the techniques you discovered during the process.
Key Insight: Your objective is not to create a perfect forgery but to understand the artist's thought process. The true value lies in the act of analysis and reconstruction, not in a flawless final replica.
Tips for Success
- Choose Wisely: Start with masters whose style you admire and wish to learn from. This will keep you motivated and engaged throughout the process.
- Focus on a Goal: Don't try to copy everything at once. In one study, you might focus only on capturing the gesture and rhythm. In another, you might focus solely on the way the artist rendered light and shadow.
- Take Notes: Keep a sketchbook or journal specifically for your master studies. Write down what you learn from each one, such as "Rembrandt uses lost-and-found edges to create atmosphere" or "Mucha uses elegant S-curves to guide the eye."
- Vary Your Subjects: Copy from a diverse range of artists, styles, and historical periods. Studying both a Renaissance drawing and an Impressionist painting in the same week can provide a wealth of contrasting insights.
7. Upside-Down Drawing
Upside-down drawing is a fascinating and highly effective cognitive trick designed to help you bypass your brain's left-hemisphere, which tends to dominate with symbols and preconceived notions. By flipping your reference image upside-down, you disrupt your brain's ability to identify the subject (e.g., "a face," "a horse"). This forces you to switch to your right-hemisphere's mode of processing, which sees the world in terms of abstract shapes, lines, and spatial relationships. It's one of the most powerful drawing exercises to improve your ability to draw what you actually see, not what you think you see.
This method was famously championed by Betty Edwards in her groundbreaking book, Drawing on the Right Side of the Brain. Edwards uses it as a core exercise to demonstrate how symbolic thinking interferes with accurate observation. It proves that anyone can draw accurately when they disengage the part of the brain that labels and simplifies reality.
How to Practice Upside-Down Drawing
- Select Your Reference: Choose a line drawing, not a photograph. A simple line-art illustration or a coloring book page works perfectly. A classic example is a line drawing of a person or animal.
- Turn It Upside-Down: Flip the reference image 180 degrees. Place it next to your paper.
- Begin Copying: Start at one corner of the reference image and begin copying the lines and shapes you see onto your paper. Move methodically from one line to the next, paying attention to angles, curves, and how each shape connects to its neighbor.
- Resist Identification: Consciously avoid trying to figure out what you are drawing. If your brain starts to say, "Oh, that's a boot," gently correct yourself and say, "No, it's just a line that curves this way and connects to that shape."
Key Insight: The magic of this exercise happens when you get lost in the puzzle of abstract shapes and relationships. The moment you forget what the subject is, your observational skills take over, and your drawing will become surprisingly accurate.
Tips for Success
- Cover the Reference: Use another sheet of paper to cover the reference image, revealing only a small section at a time. This further prevents your brain from recognizing the overall subject.
- Work Systematically: Don't jump around the page. Work from top to bottom or from one side to the other to maintain spatial accuracy.
- Trust the Process: The drawing will look like a meaningless mess of squiggles for a long time. Trust that if you copy each individual line and shape correctly, the final image will come together.
- The Big Reveal: Only turn your drawing and the reference right-side up after you have completely finished. The accuracy of your final piece will often be a delightful surprise.
7 Drawing Exercises Comparison Guide
Technique | Implementation Complexity | Resource Requirements | Expected Outcomes | Ideal Use Cases | Key Advantages |
|---|---|---|---|---|---|
Contour Drawing | Low - simple continuous line | Minimal - pen/pencil | Improved observation, hand-eye coordination | Daily practice, observation skill | Boosts confidence, quick, no special tools |
Gesture Drawing | Moderate - fast, expressive | Live models or photo references | Captures movement, energy, and form | Figure drawing, animation warm-up | Enhances speed, intuitive anatomy understanding |
Still Life Drawing | Moderate to High - detailed | Setup with controlled lighting | Technical accuracy, value and texture study | Study form, lighting, textures | Builds precision, patience, detail focus |
Perspective Drawing | High - mathematical principles | Tools like ruler, reference | Realistic depth, spatial reasoning | Architecture, environment drawing | Essential for 3D illusions, structured method |
Value Studies | Moderate - tonal focus | Good lighting, any grayscale medium | Mastery of light and shadow | Form, mood, realistic shading | Fundamental for form, enhances tonal perception |
Drawing from Master Studies | High - analytical copying | Access to masterworks/reproductions | Technical skill, art history knowledge | Skill development, technique learning | Learn proven methods, builds muscle memory |
Upside-Down Drawing | Low to Moderate - observational | Inverted reference images | Improved observational accuracy | Overcoming symbolic drawing habits | Bypasses preconceptions, builds accuracy |
Integrating Practice into Your Creative Habit
You've just explored a powerful toolkit of drawing exercises designed to build your foundational skills and ignite your creative spark. From the pure observation of Contour Drawing to the dynamic energy of Gesture Drawing, each exercise targets a specific, crucial area of artistic development. We've journeyed through constructing believable worlds with Perspective exercises, understanding light and shadow through Value Studies, and learning from the greats with Master Studies.
The true power of these drawing exercises to improve isn't found in completing them once, but in weaving them into the very fabric of your creative routine. The goal is not just to draw more, but to practice with intention and purpose. Think of these drills not as chores, but as a dedicated conversation between your eyes, your hand, and your mind. They are the scales a musician plays, the drills an athlete runs: the consistent, focused effort that makes masterful performance possible.
From Practice to Proficiency
So, how do you translate this knowledge into tangible progress? The key is to build a sustainable and personalized practice habit.
- Create a "Practice Menu": Don't feel pressured to do every exercise every day. Create a weekly schedule. For example: Monday for Gesture Drawing, Wednesday for a detailed Still Life, and Friday for a Value Study. This variety keeps things fresh and ensures you're developing skills across the board.
- Set a Time and Place: Consistency is born from routine. Dedicate a specific time, even if it's just 15-20 minutes, to your drawing practice. Having a designated space, with your tools ready to go, removes friction and makes it easier to start.
- Focus on the "Why": Before starting an exercise, remind yourself of its objective. If you're doing an Upside-Down Drawing, your goal isn't a perfect replica, but to silence your brain's symbolic shortcuts and truly see shapes and lines. This focus on process over outcome is what accelerates learning.
Key Takeaway: The ultimate value of these drawing exercises lies in their cumulative effect. A single session might feel small, but hundreds of focused sessions build the muscle memory, observational acuity, and confident linework that define a skilled artist.
Embrace the journey of steady, incremental improvement. Celebrate the small wins, whether it’s a perfectly captured gesture or a value scale that finally looks smooth. Each mark you make is a step forward, a new piece of data for your artistic brain. By integrating these targeted drawing exercises to improve into your regular habits, you are not just learning to draw better; you are building a lifelong relationship with your art, founded on discipline, observation, and creative joy.
Struggling to find fresh ideas for your daily practice? The Drawing List provides endless, curated drawing prompts to keep your creative momentum going. Visit Drawing List to find the perfect inspiration for your next drawing session.